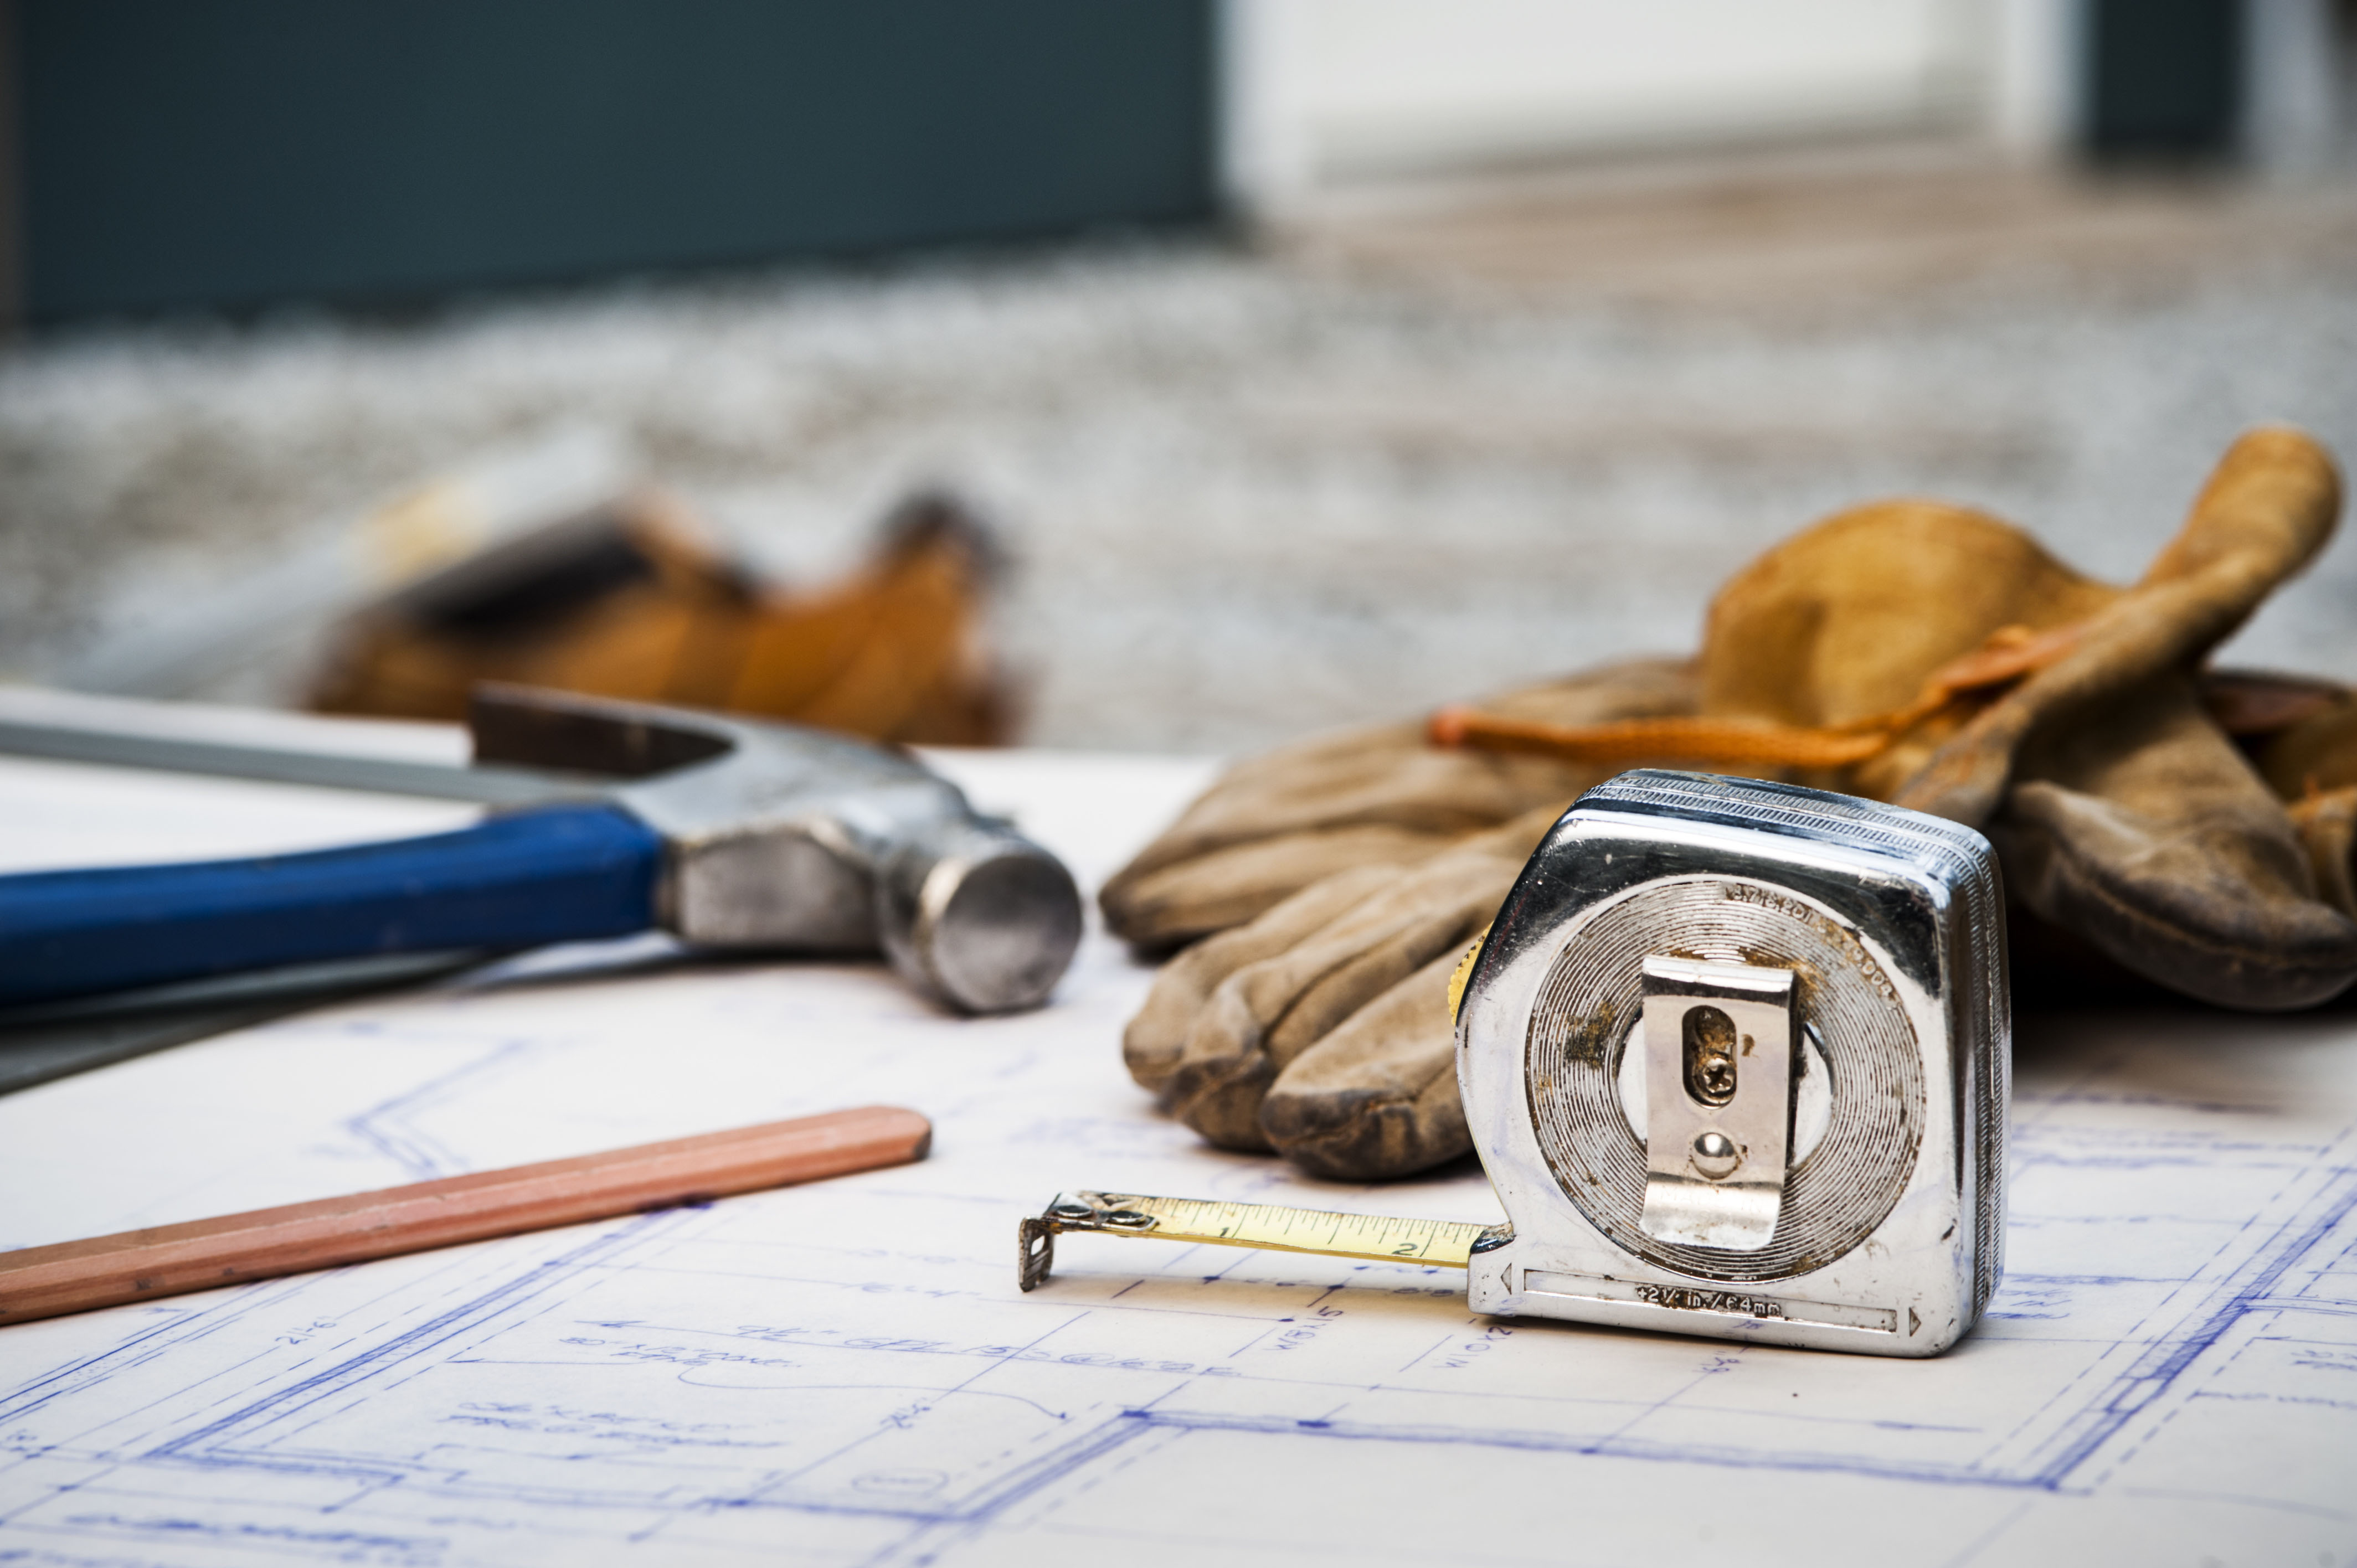
A good design process is the key to a successful project. Design evolves over a period of time during which you and your designer discuss, digest, think and rework ideas until you arrive at the best solution.
Design is a partnership between you and your designer. You provide the brief to which the designer develops ideas and options, and you choose the level of service that you require from them in this stage. Make sure you a letter of engagement that clearly lists what is included in the design service and the costs so you don’t get caught off guard. You will have meetings with your designer throughout the process, which is an opportunity for you to give feedback and make sure you’re on track to build your dream home.
Here are the three main steps in the design process, and what happens in each one.

1. Sketch design
Sketch design is also called preliminary design or concept design. It is the time to define your goals and aspirations, analyse the design constraints and review design options. It is an interactive process between you and your designer, requiring a lot of discussion, thought and feedback by both parties.
What you need to do
- Read the Design Guide publication to give you an insight into the design process and understanding of good design principles for the different rooms of your home
- Establish the kind of house you want and need, as well as the styles you like. Try to think through things before you sit down and prepare the brief for your designer. Work done here will save you time and money throughout the construction process
- Provide a brief, including budget and time frames
- Order a LIM from the council where you are building
- Supply a recent certificate of title and any other legal information you have on your site
- Attend design meetings, take notes, consider the design options presented and provide clear and timely feedback in person or in writing
- Approve the final sketch design and cost estimate
- Pay the designer’s sketch design fee
What your designer will do
- Confirm conditions of engagement before they start work
- Investigate the site (access, orientation, sun angles, neighbours, views, etc), existing services and buildings
- Confirm whether sub-consultants are required. For example: land surveyor, quantity surveyor, structural or geotechnical engineers, town planner and more
- Investigate district plan rules and requirements that affect your site
- Analyse your brief against the design constraints
- Prepare design options in sketches, site plans, floor plans, elevations, sections and perhaps a three-dimensional model
- Present design options to you in person
- Refine your preferred option based on your formal feedback
- Define the primary elements of the design: driveways and paths, building size, form, materials, openings and outdoor spaces
- Provide a square metre rate cost estimate on the selection option.
- Apply for a PIM to identify any Resource Consent issues and get information the council holds on your site
- Apply for a Resource Consent on your behalf (unless this is not part of the conditions of engagement)
2. Developed design
By now the sketch design is signed off – the size, location, form and probably external materials are all agreed. Your designer can now develop the secondary elements of the design and begin co-ordinating the work of sub-consultants. At the end of this phase, all aspects of the project should be defined.
What you need to do
- Attend design meetings and provide clear and timely feedback on material selections and design details for things like balustrades, pergolas, kitchen and bathroom layouts
- Review the revised cost estimate
- Approve sub-consultants and pay their fees
- Sign off on developed design drawings
- Pay the designer’s developed design fee
What your designer will do
- Develop the drawings and documentation to send to sub-consultants such as the structural engineer
- Integrate and co-ordinate sub-consultant designs into the architectural drawings
- Develop door and window details, cladding and roof design, interior details, and timber and steel sizes. This allows a more accurate cost analysis
- Start designing services: electricity, gas and phone locations, plumbing and drainage, preliminary lighting and electrical plans
- Write the draft specification
- Review design development with you at key stages
- If a Resource Consent has been submitted, answer any queries from the council
- A Building Consent can be applied for at this point
- Tenders prepared and sought from builders
- If some elements are not fully detailed due to time constraints (e.g. kitchen cabinetry or lighting selection), your designer will allow a provisional sum in the tender documents

3. Construction drawings
All the important design decisions are made and the designer develops the final set of construction drawings, which incorporates input from builders and the council building consent process.
What you need to do
- Avoid changes to the design (unless they are small details). At this point the drawings are comprehensive and fully co-ordinated, and any design changes can result in major time and cost overruns. These will be expensive
- Attend design meetings and provide clear and timely feedback on finishes and fittings e.g. carpet, tiles, vinyl, paint colours, kitchen design, bathroom design and light fittings
- If you are doing the interior design yourself, a fixed sum can be specified in the contract for these items so that the contract can get underway and the final details follow later
- Sign off construction drawings and specifications
- Review builder’s quotes and agree on the form of contract
What your designer will do
Review builder’s quotes and construction programme, discuss with you and make recommendations
- Complete any component drawings required that had a provisional sum in the tender documents e.g. kitchen or lighting design
- Finish all drawings and documents, incorporate any changes required by the council or the selected builder, and issue the construction set – a complete set of drawings that can be built from
- Prepare contract documents for you and the builder to sign
This article first appeared in the New Zealand Building Guide. Read more about building your dream home at buildingguide.co.nz.
10 Aug 2018

