
.svg)


Want to get crafty and create your own rope coasters to use at home? Watch our video below to find out how, or read the step-by-step guide below 👇
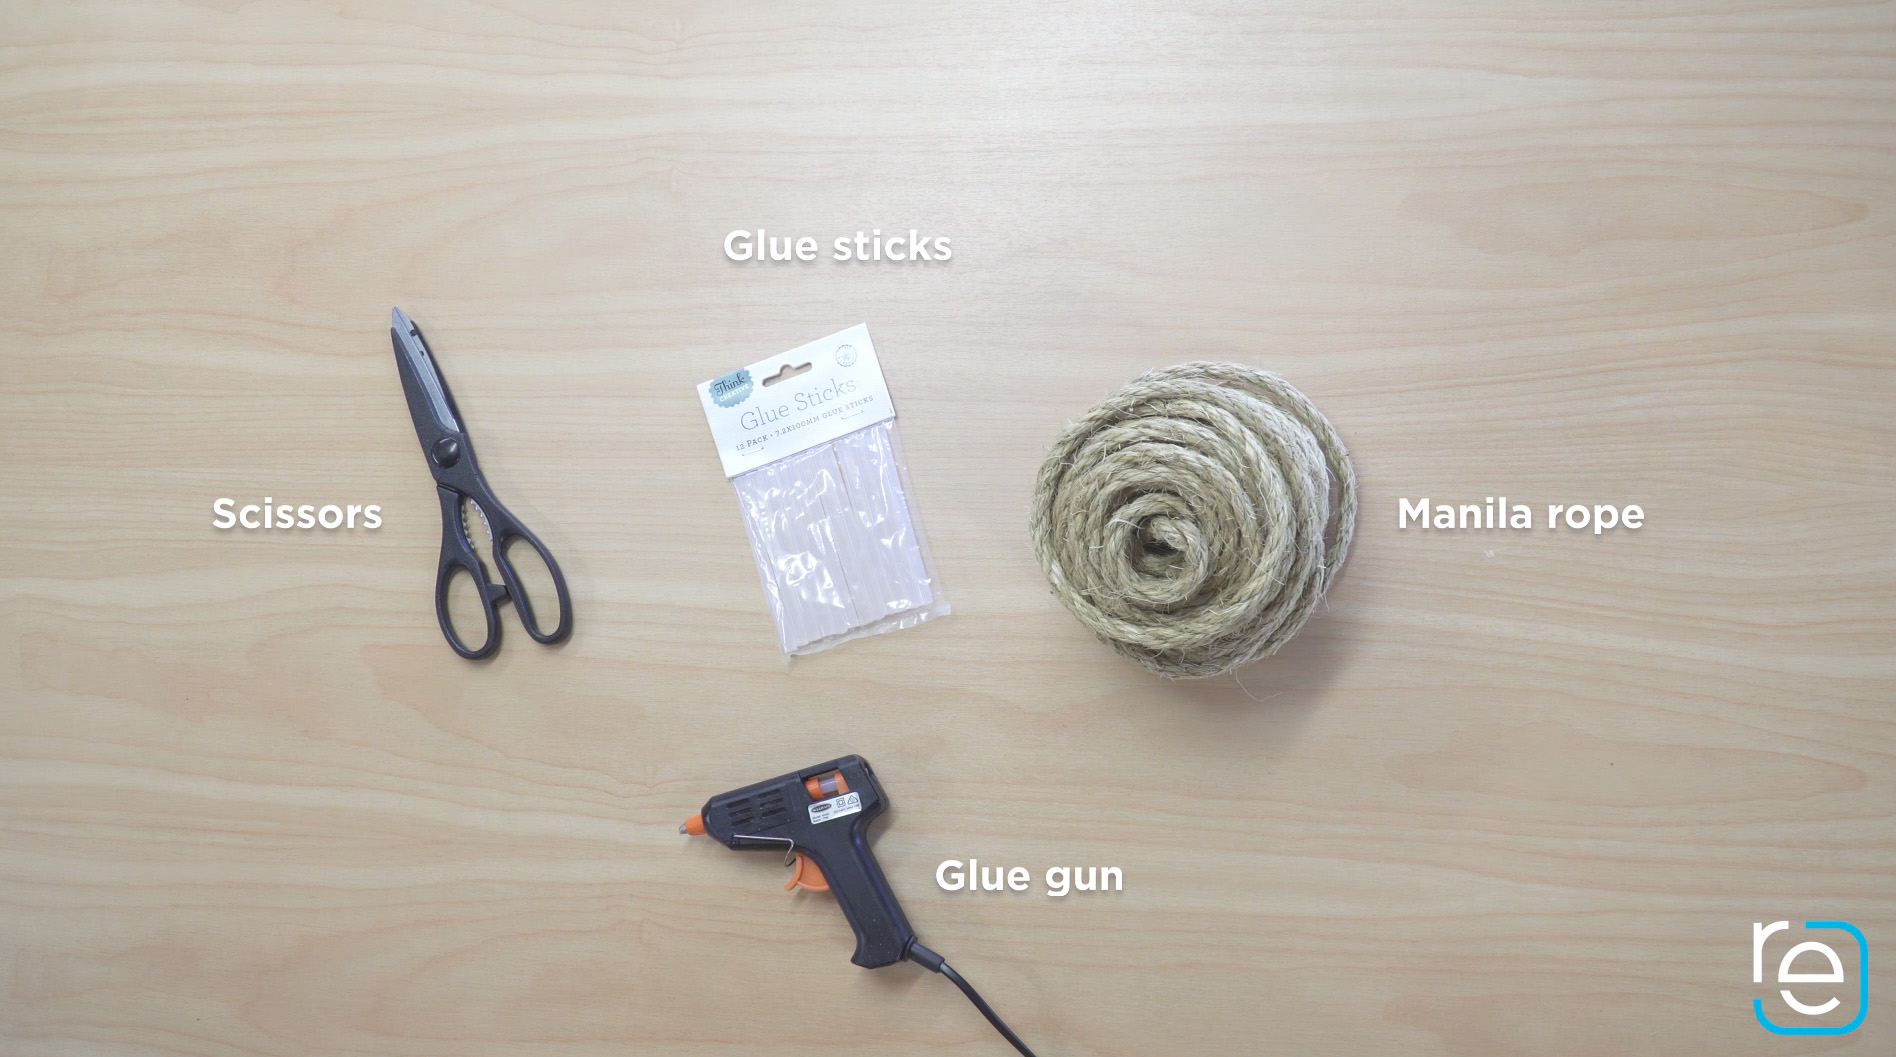
The materials you'll need to get started are:
- Manila rope
- Glue gun
- Glue sticks
- Scissors
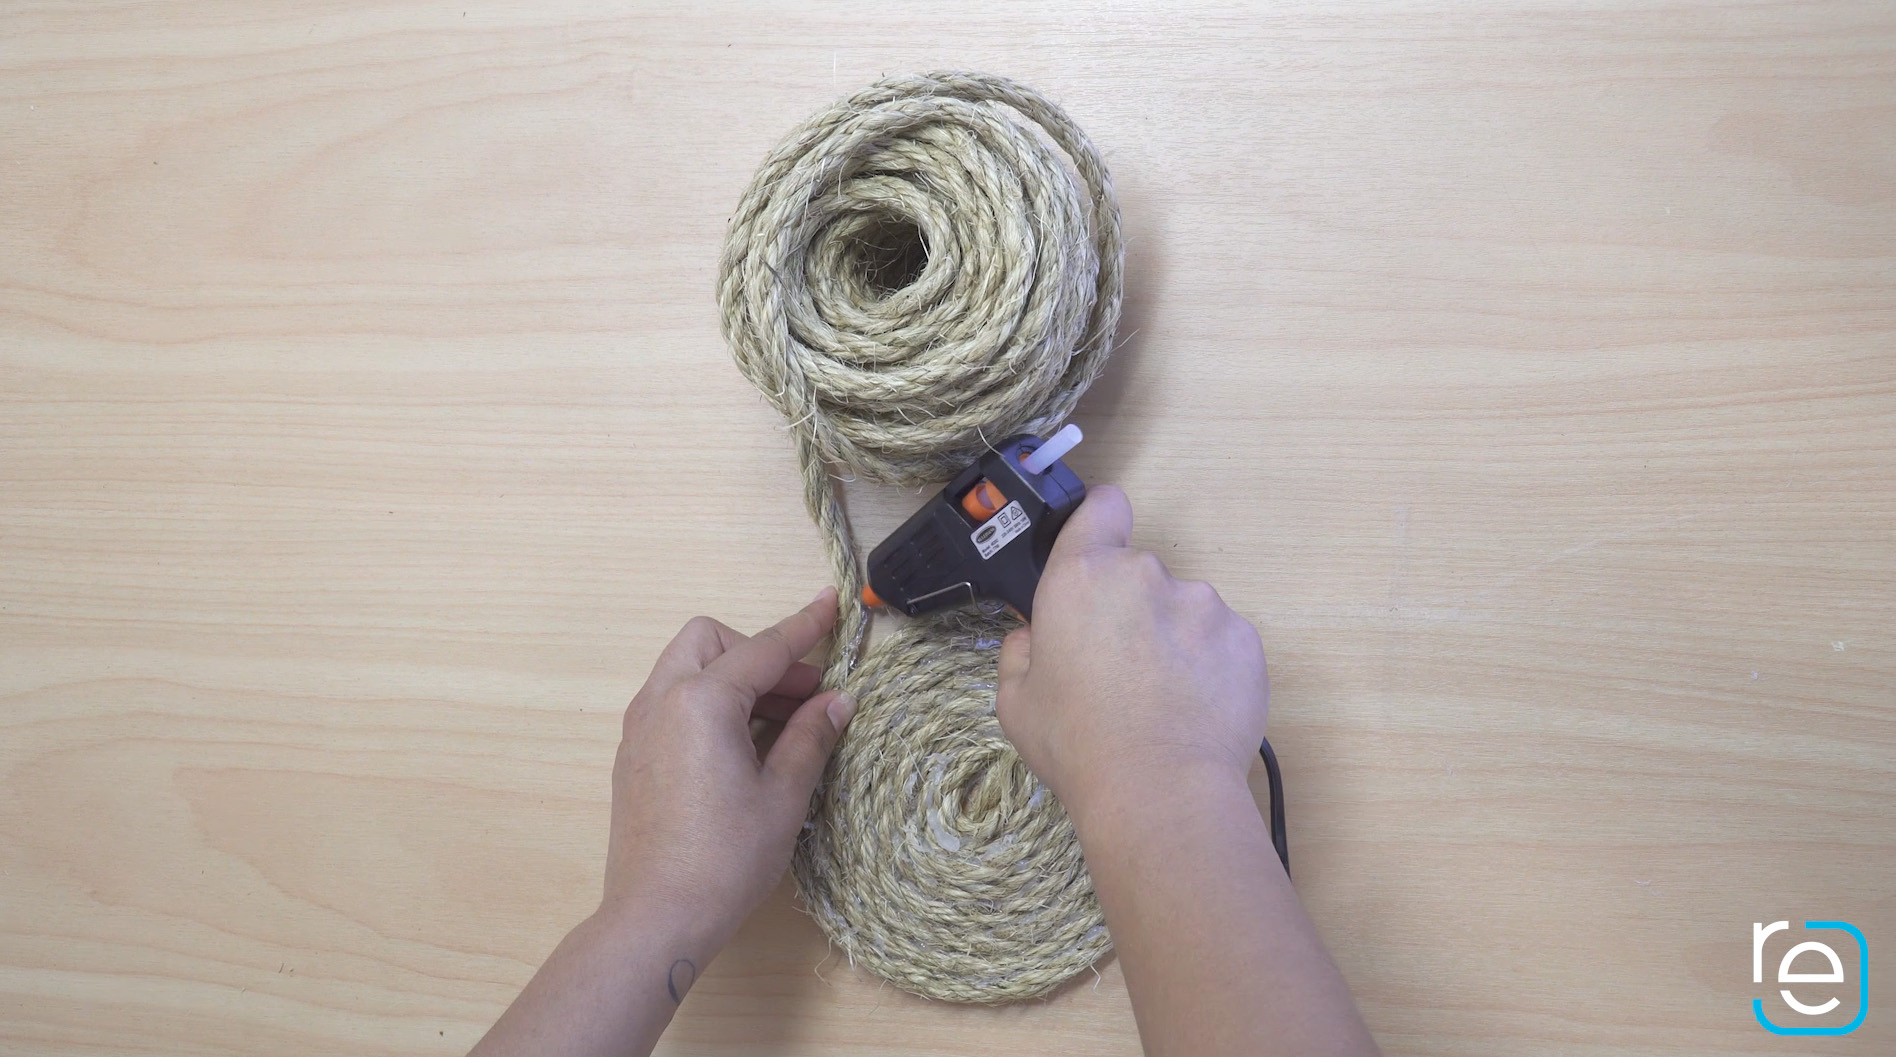
Step one: Get glueing
Grab your manila rope and glue gun, and start glueing. Simply cover one side of the rope with glue and twist around on itself to make a circle. Keep going until you’ve reached the desired size for your coasters.
Step two: Perfect those ends
Once you’ve reached the perfect size, simply trim the ends with a pair of scissors. Apply plenty of glue to the end of the rope to finish it off and ensure that it stays put. This is also the perfect time to pop a little extra glue on any bits that are sticking out, or simply trim them off.
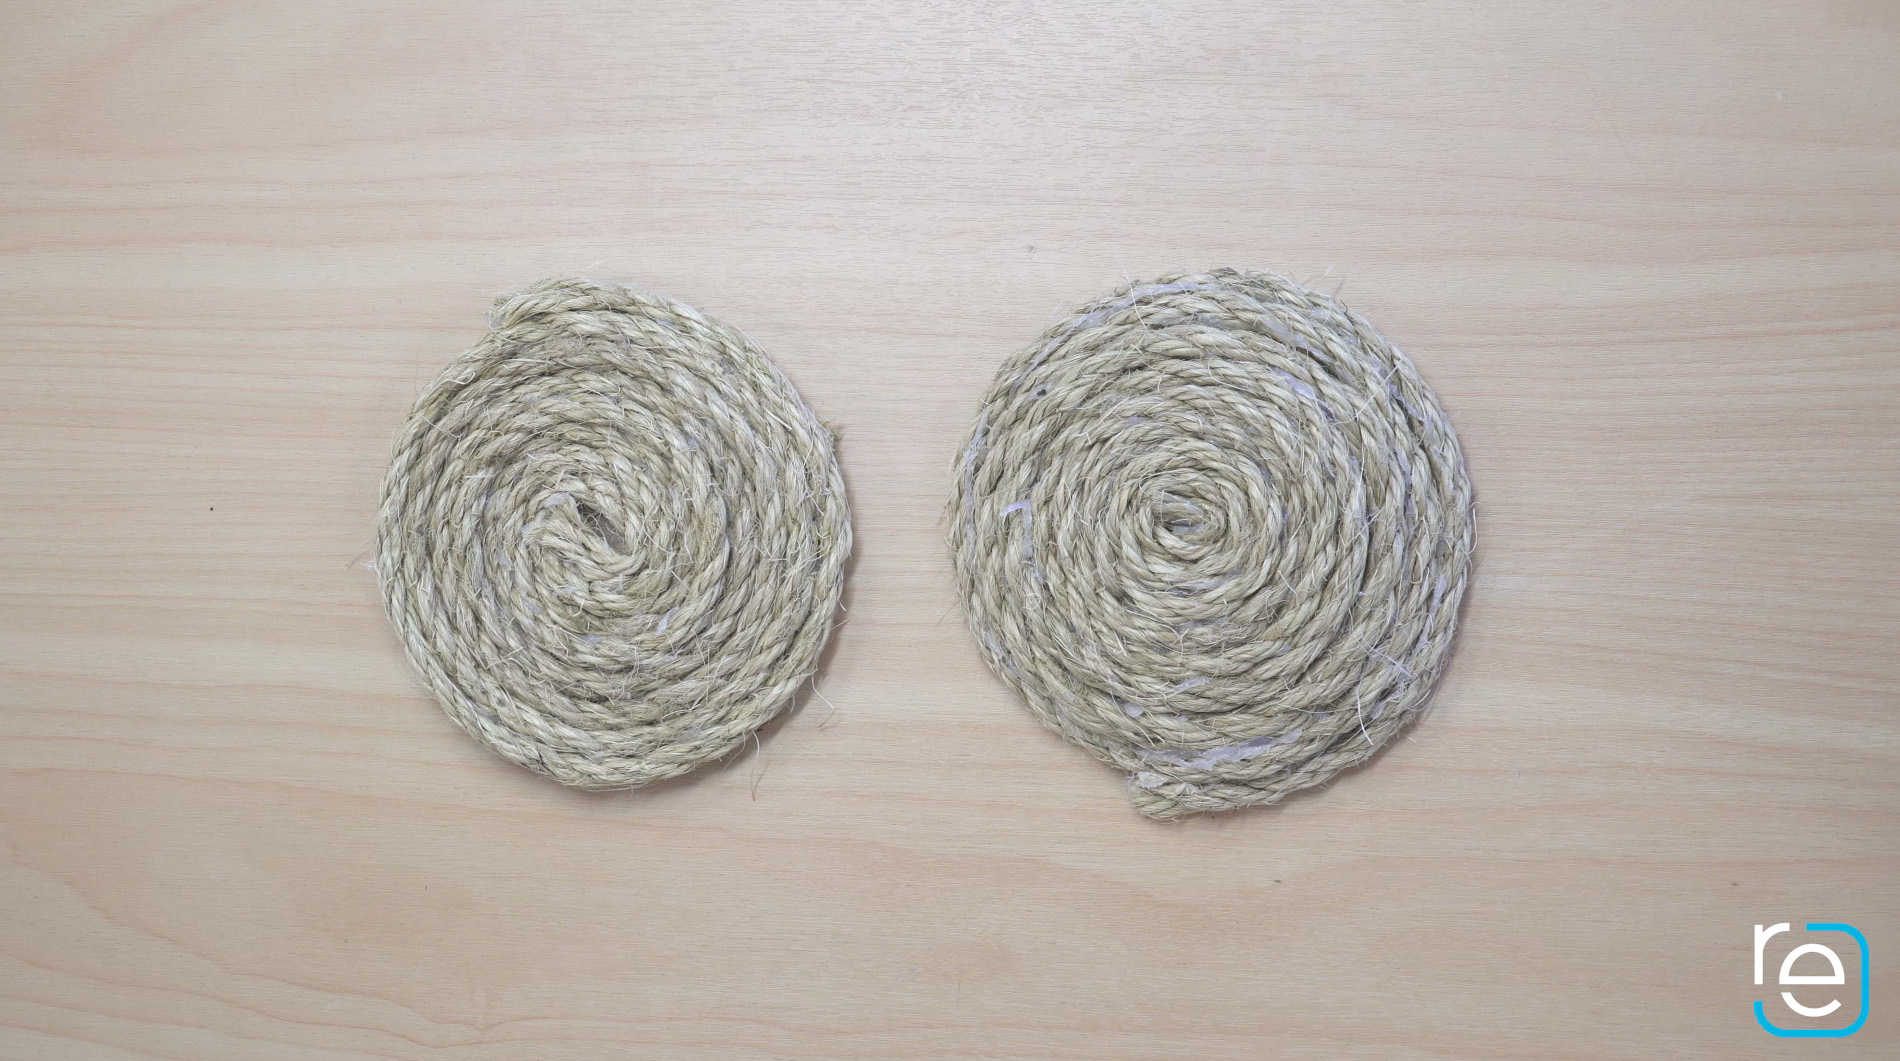
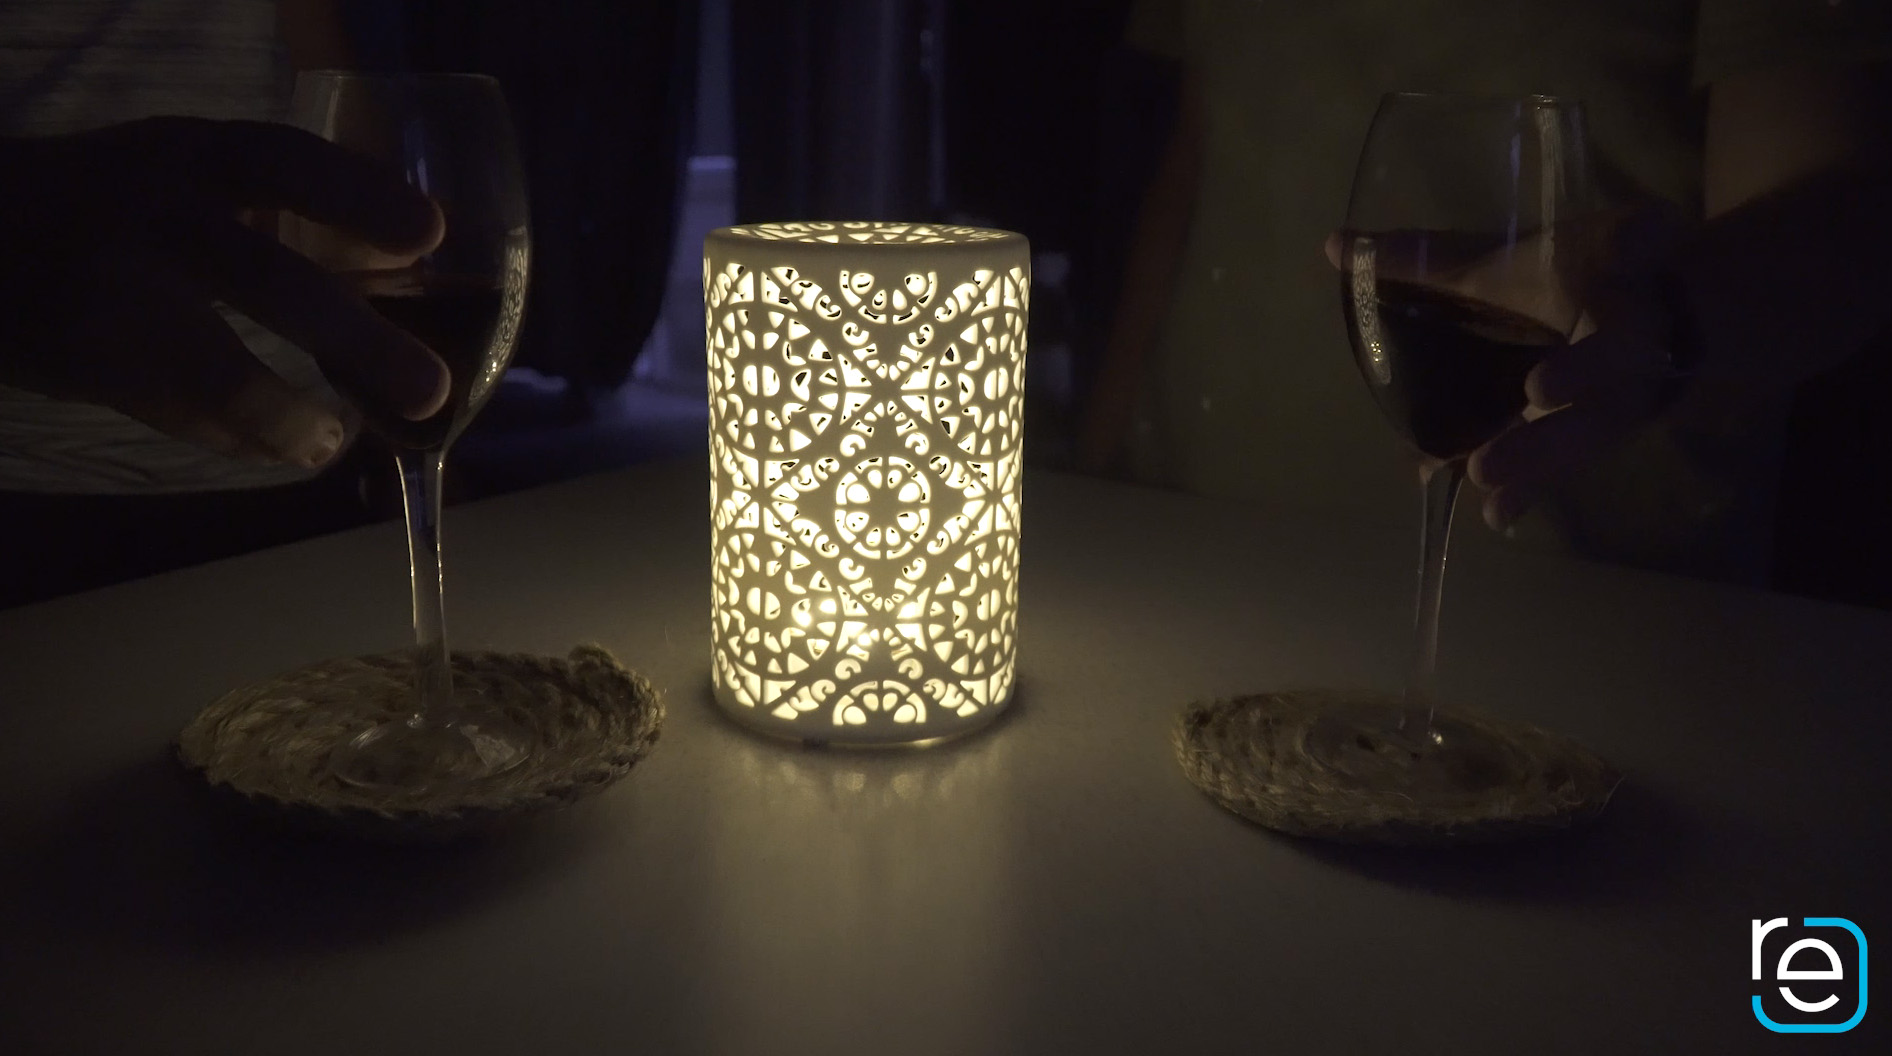
Cheers! You’ve successfully created your own rope coasters. For those who want to take it a bit further – why not grab some paint from your local shops and get creative with colours and patterns.
Ready for more? Check out our other DIY projects below:
Share
-
.svg)
.svg)
.svg)