
.svg)


There’s nothing more satisfying than organising and decluttering your home – but after you’ve put the time in to get it all in order, how do you keep it that way? One easy way is by finding great (and visually appealing) storage solutions.
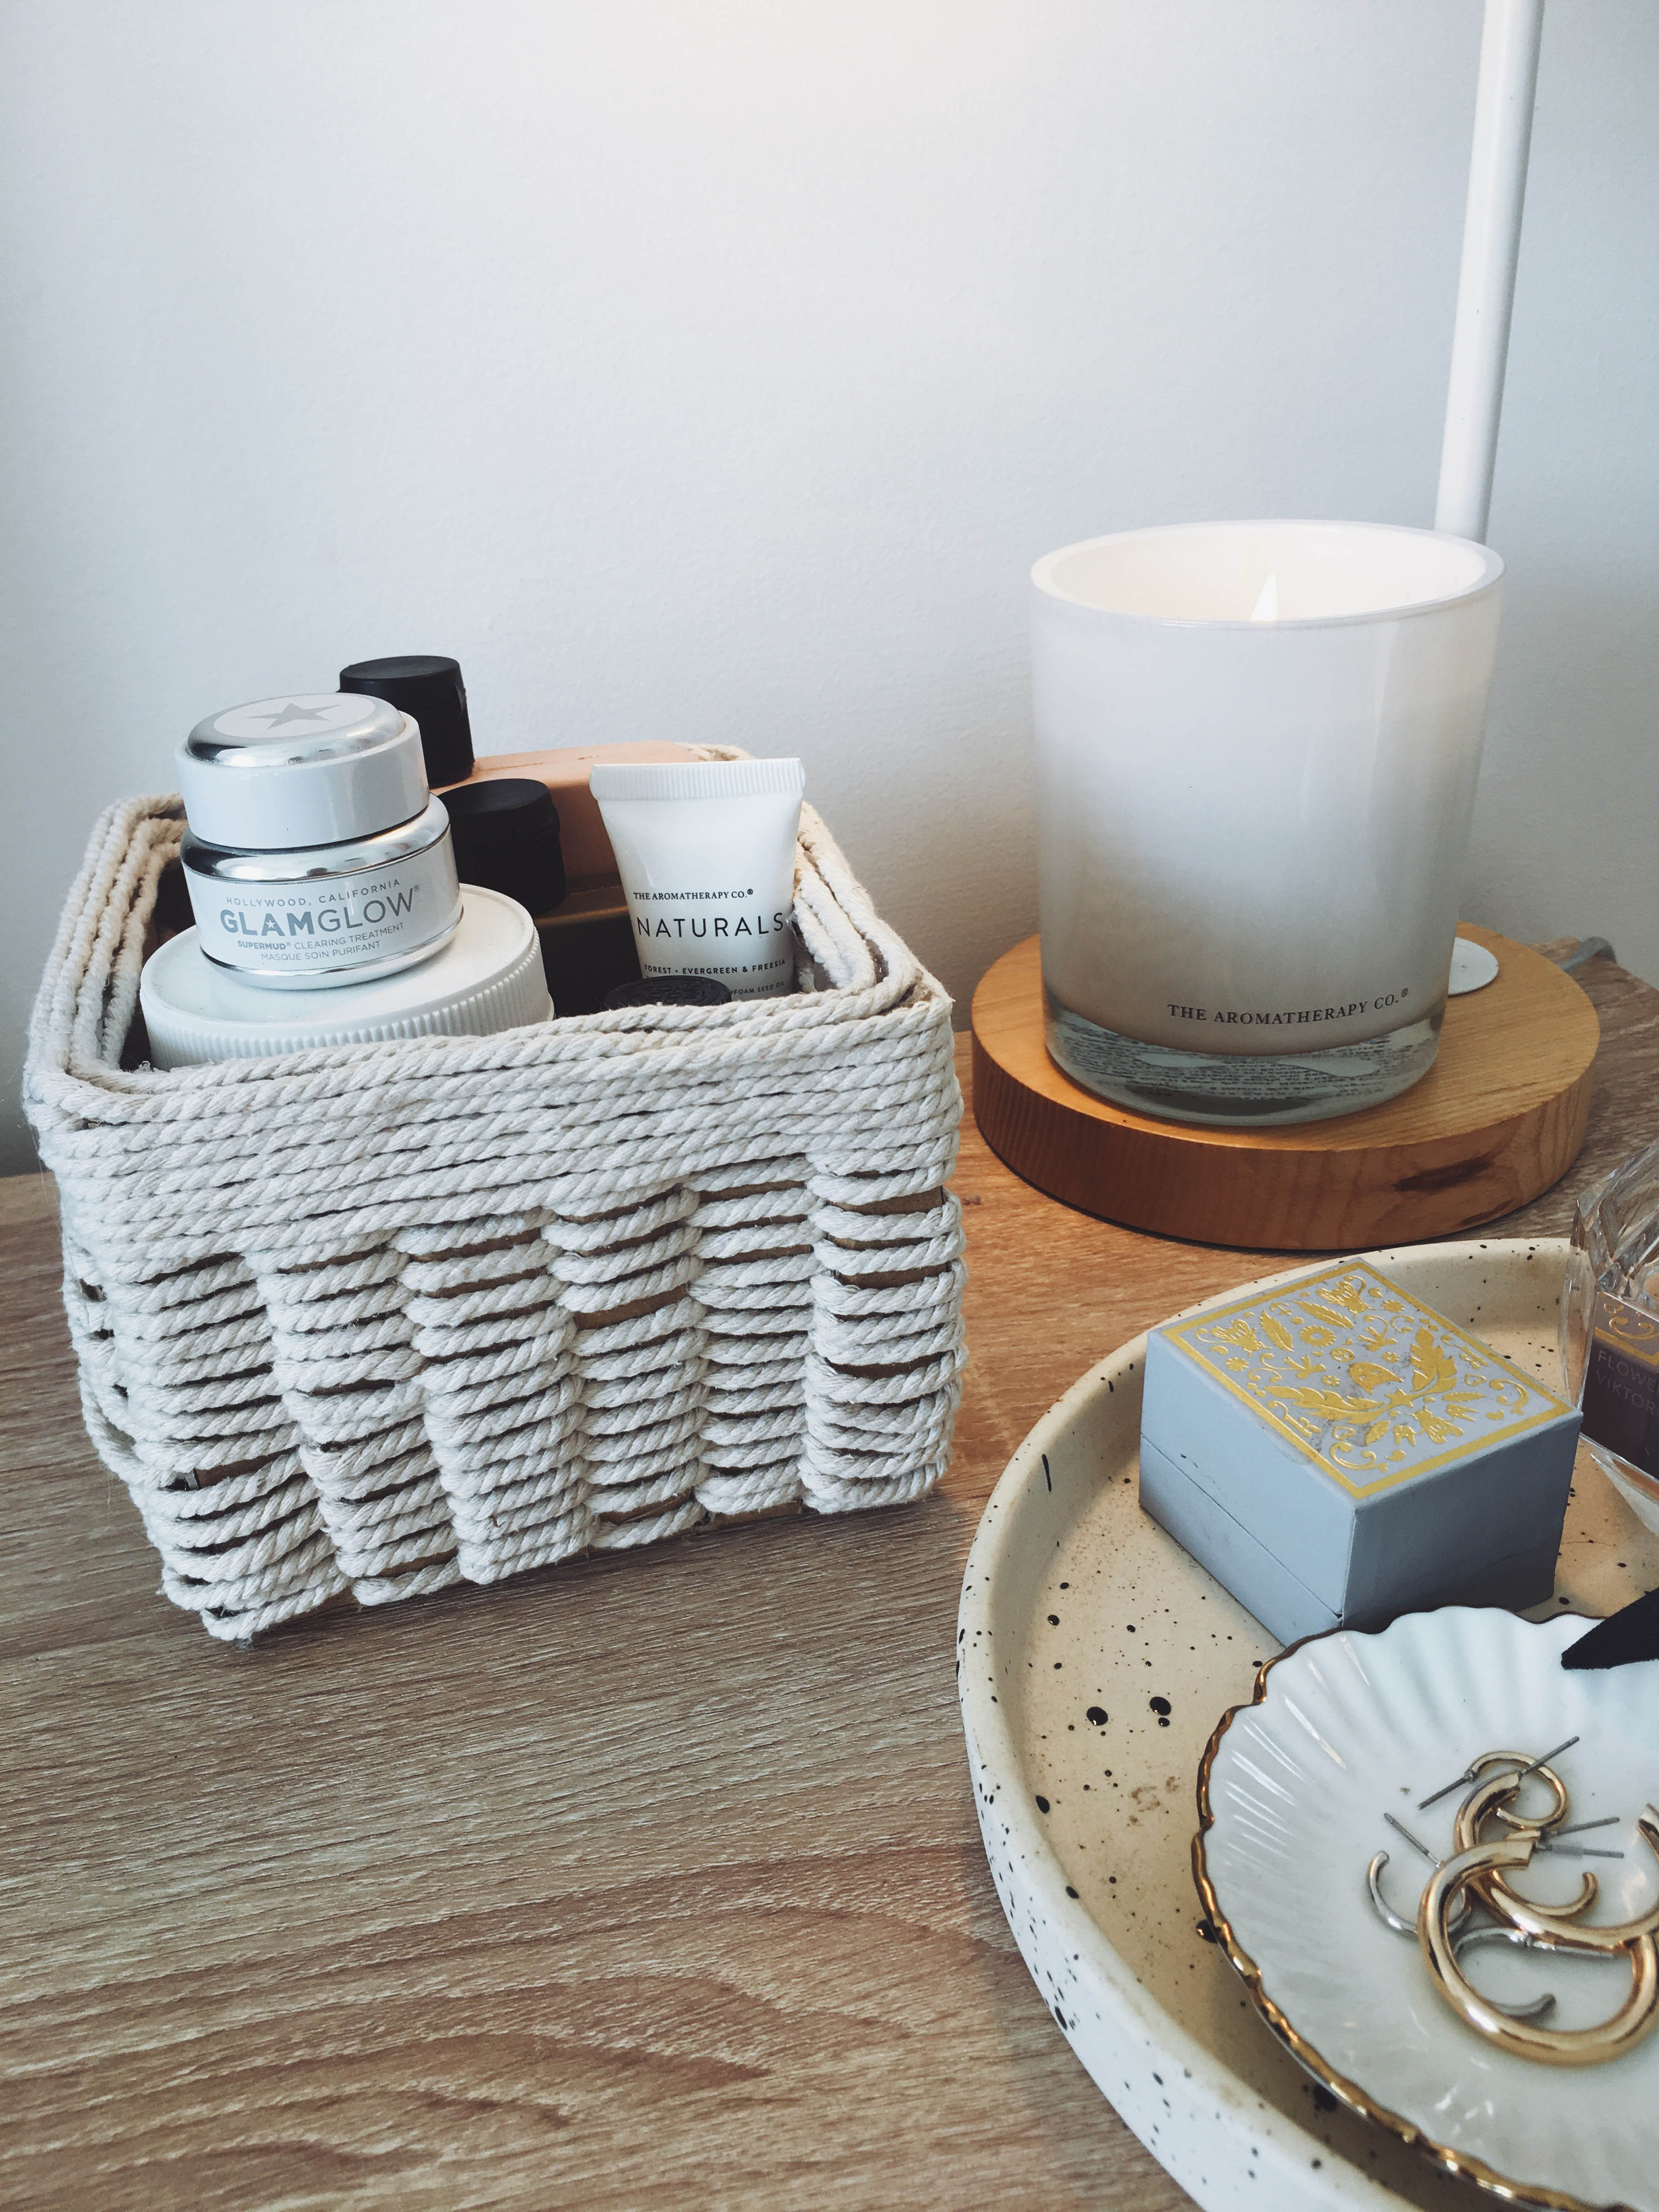
A brilliant and simple DIY idea is to make your own storage boxes for your dresser. These are super simple to make – all you need is a cardboard box, rope and a glue gun. Place it on your dresser with a ceramic trinket tray and a candle, and you’ve got the perfect space to store your favourite things.
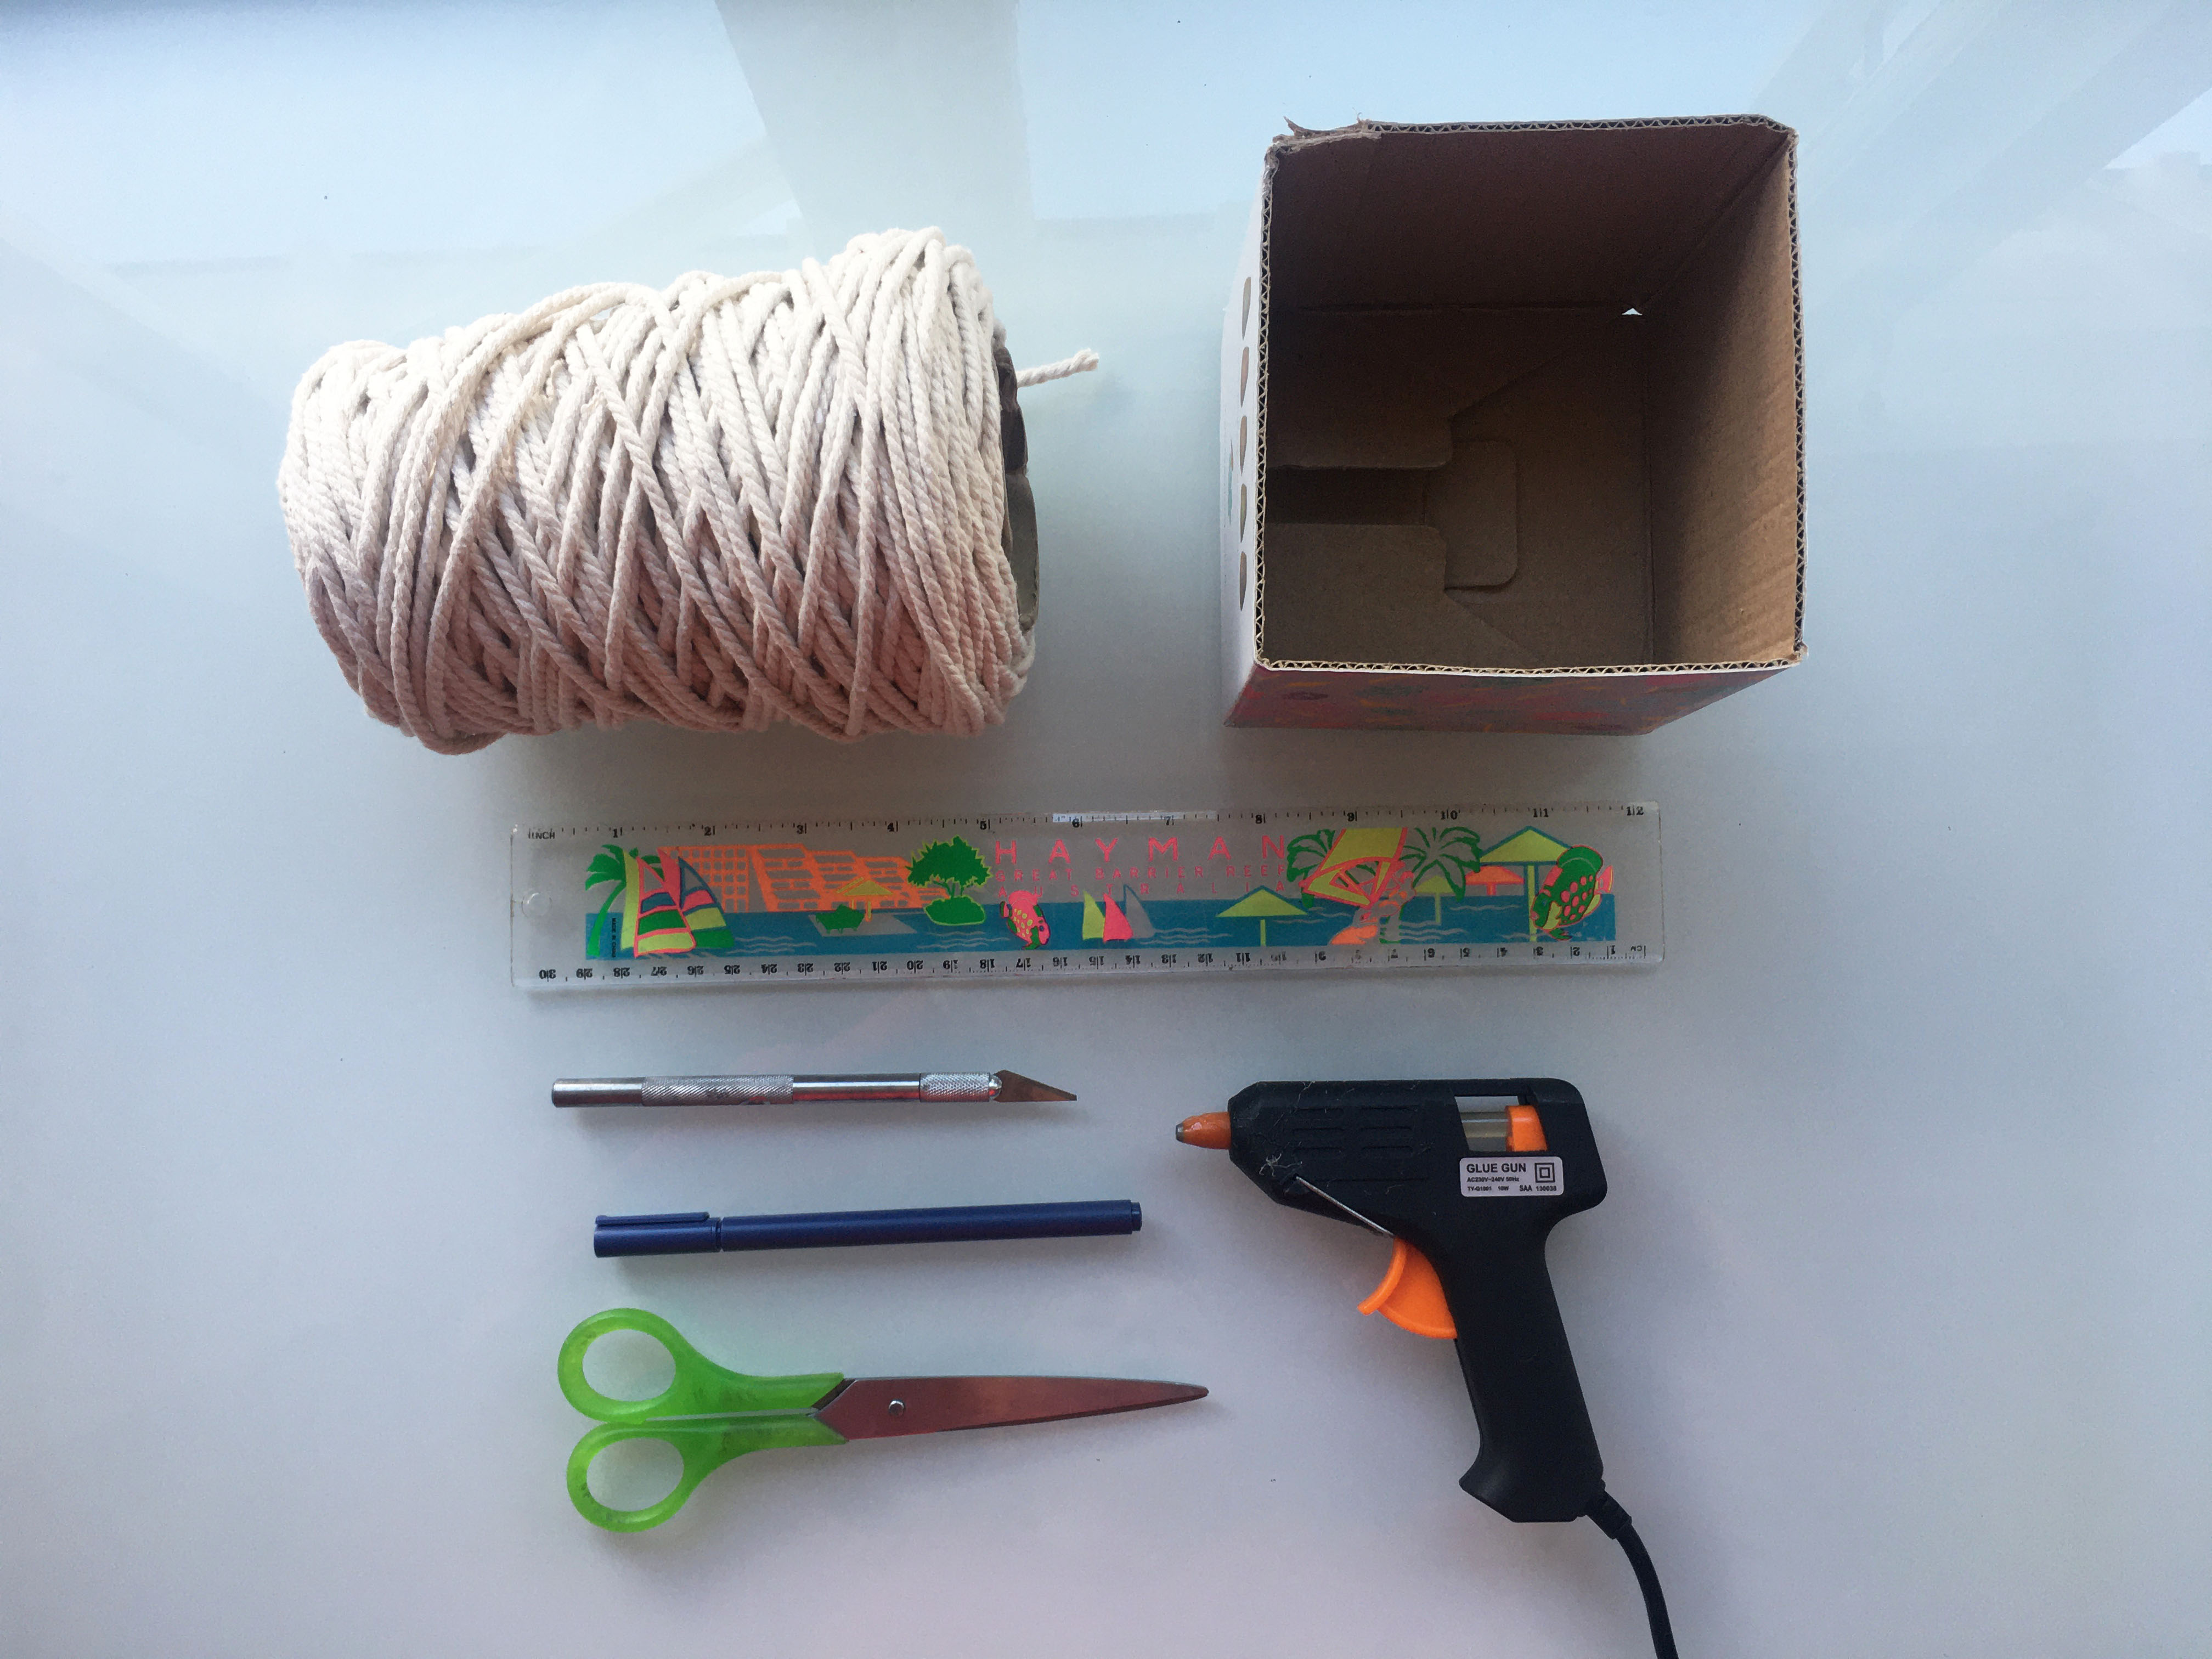
All you’ll need is:
- A cardboard box
- Scissors
- Hot glue gun
- Macramé rope (we bought ours from The Warehouse)
- Craft knife
- Ruler
- Marker pen
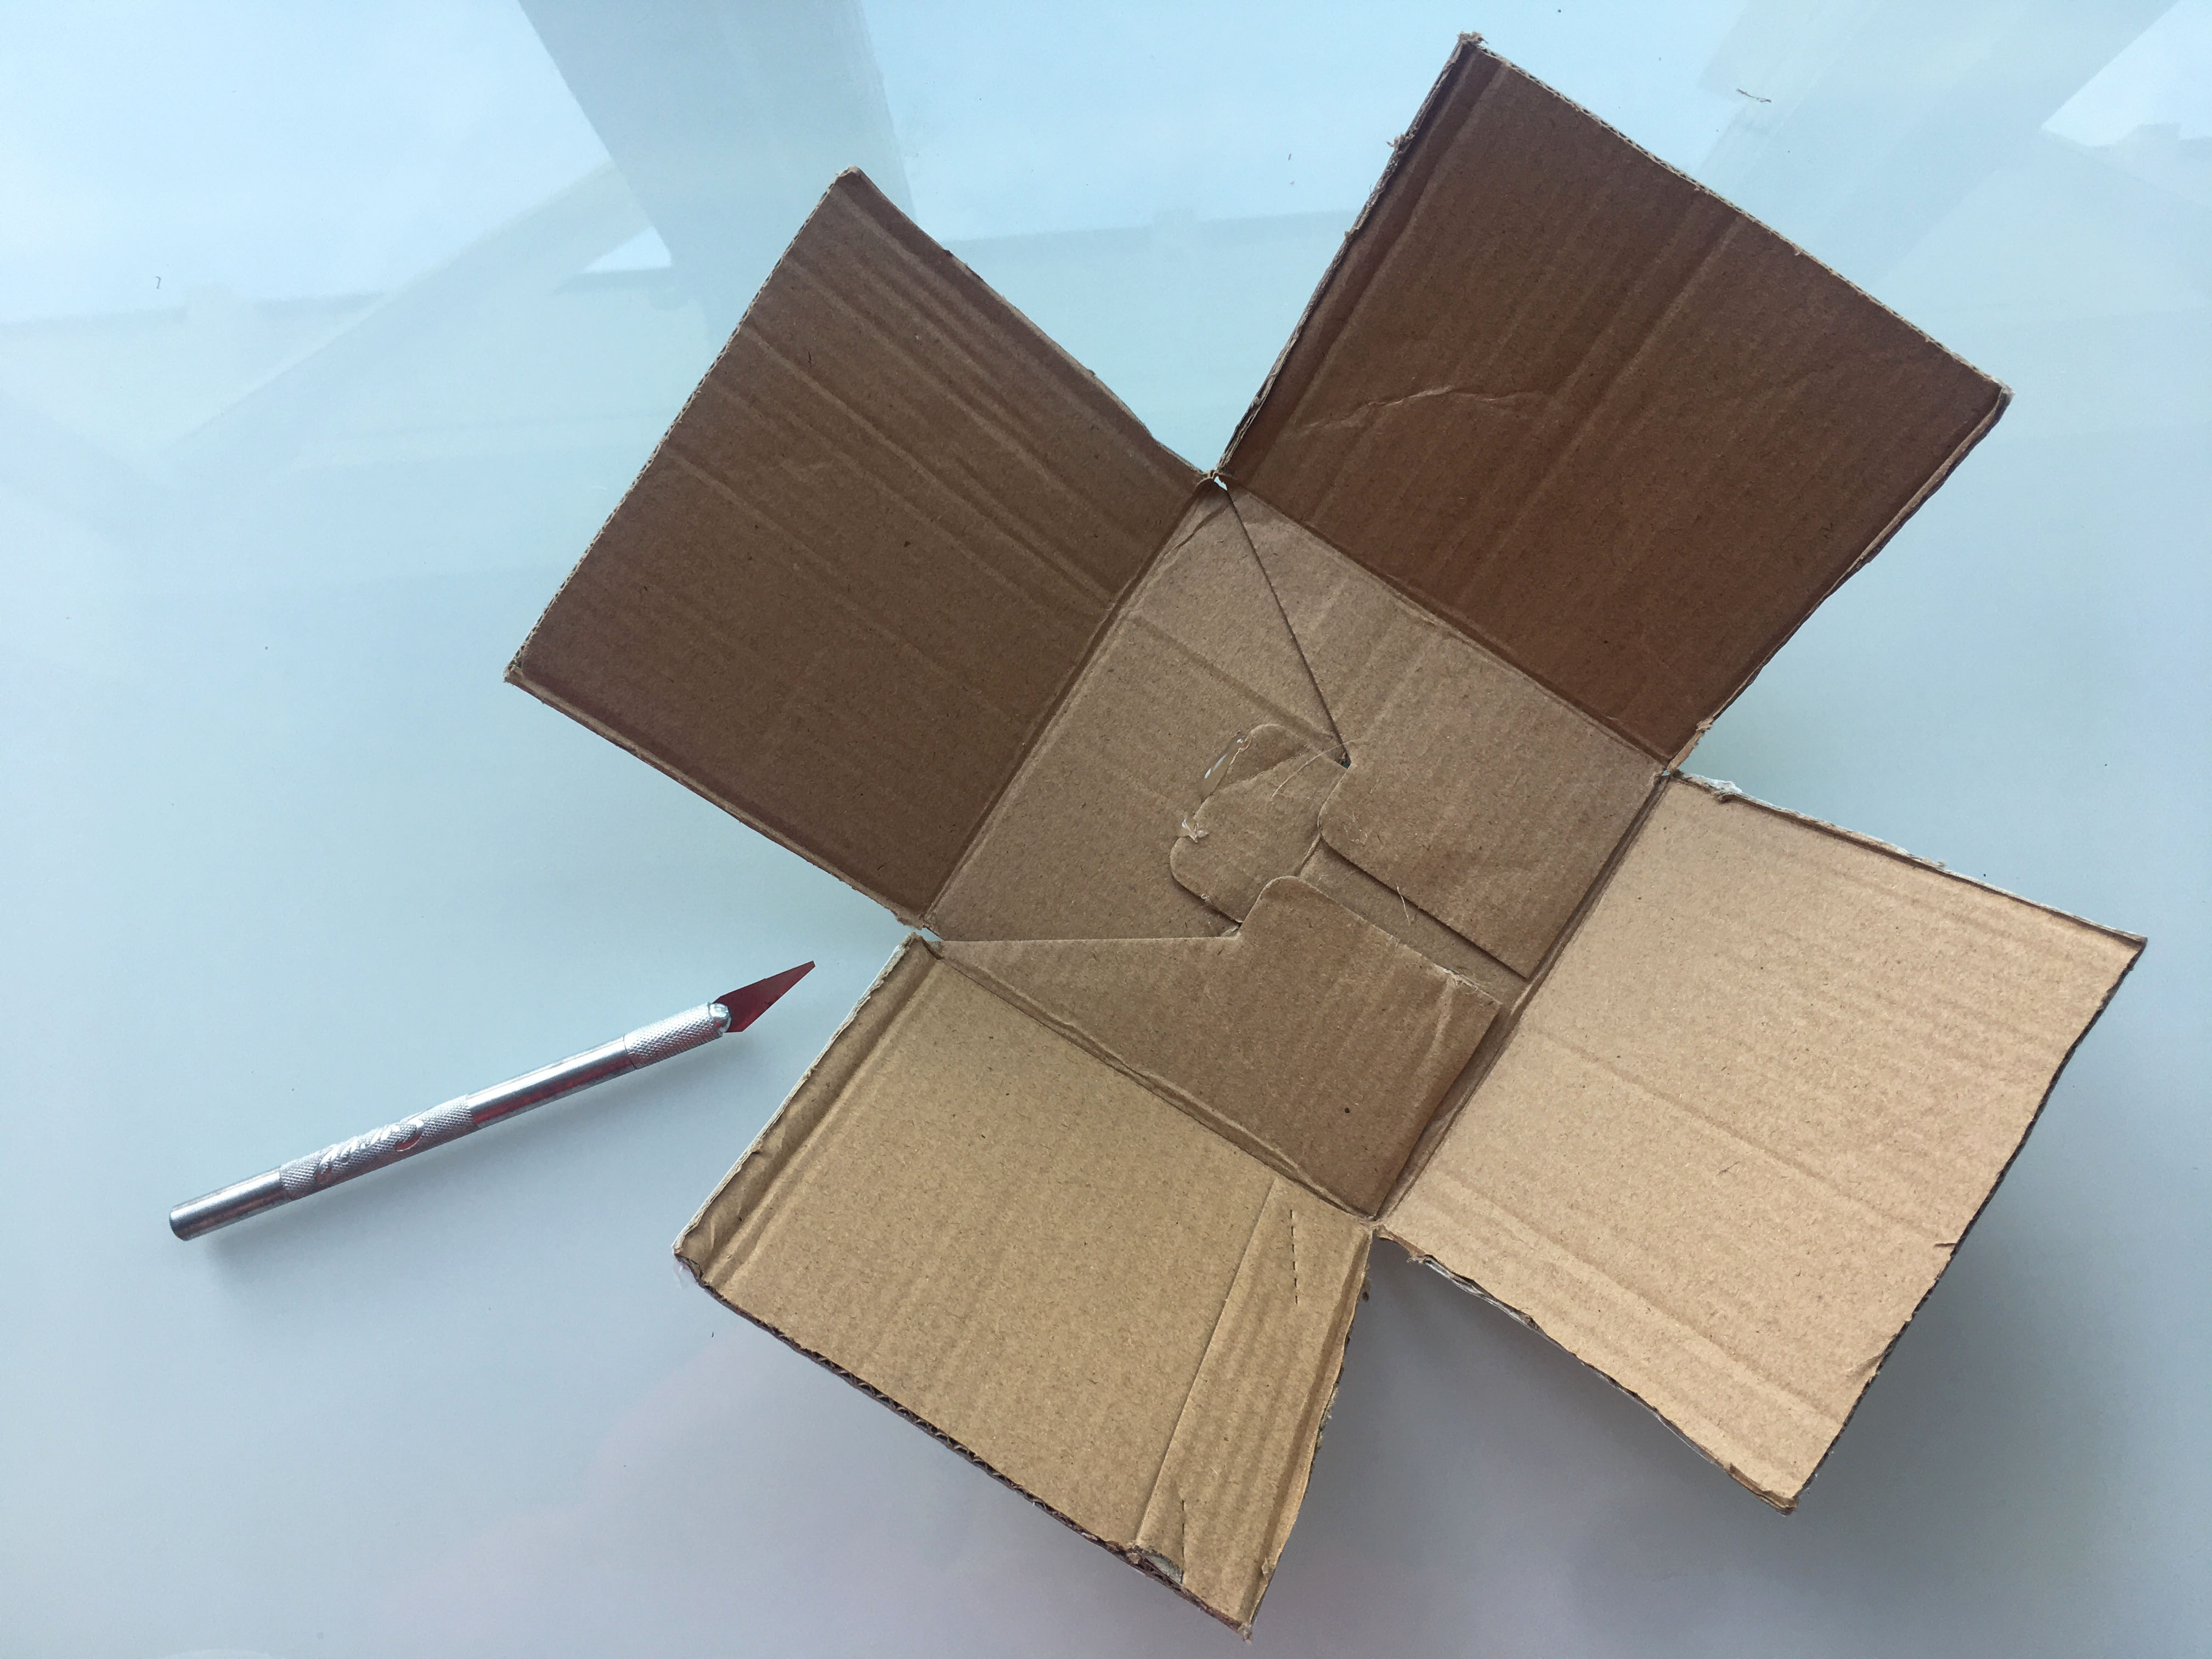
Step 1: Start by cutting off the top flaps off your box, and then cut down the sides of the box to open it up.
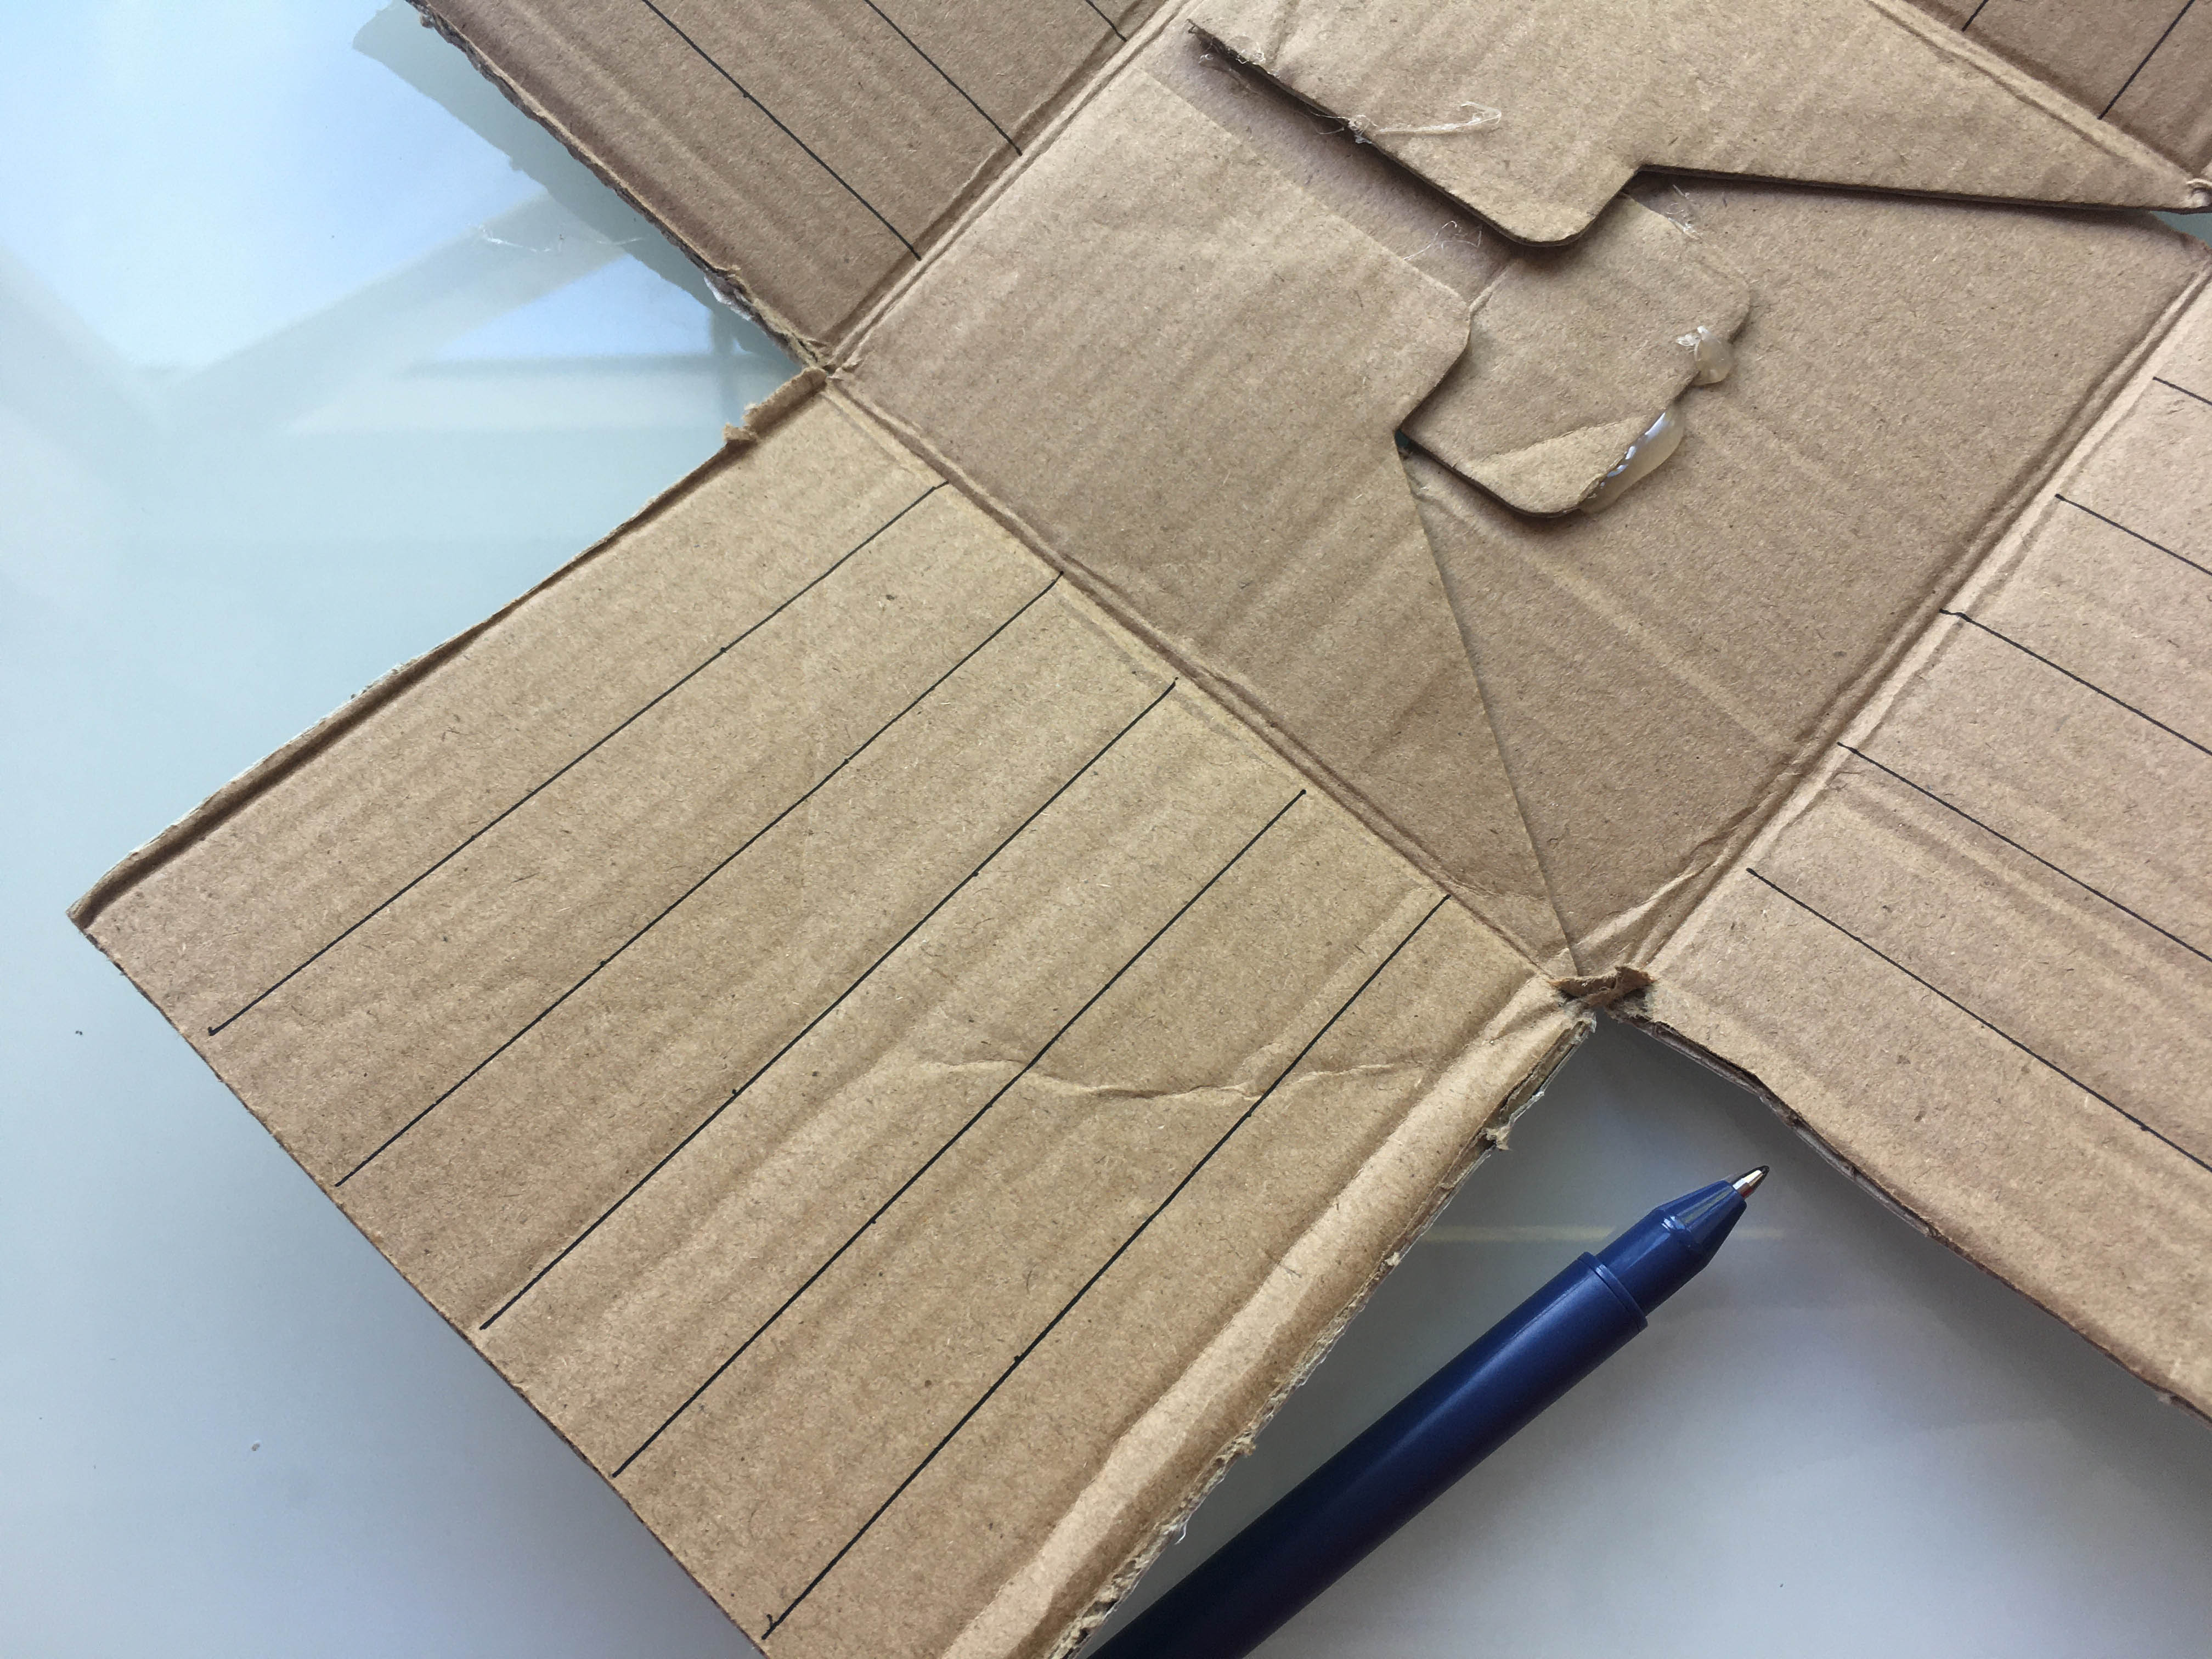
Step 2: Divide each side of the box into panels – make sure you’ve got an even number. Draw the lines on the box using a marker pen. Our box had 12cm wide sides, so we made six panels which were 2cm wide.
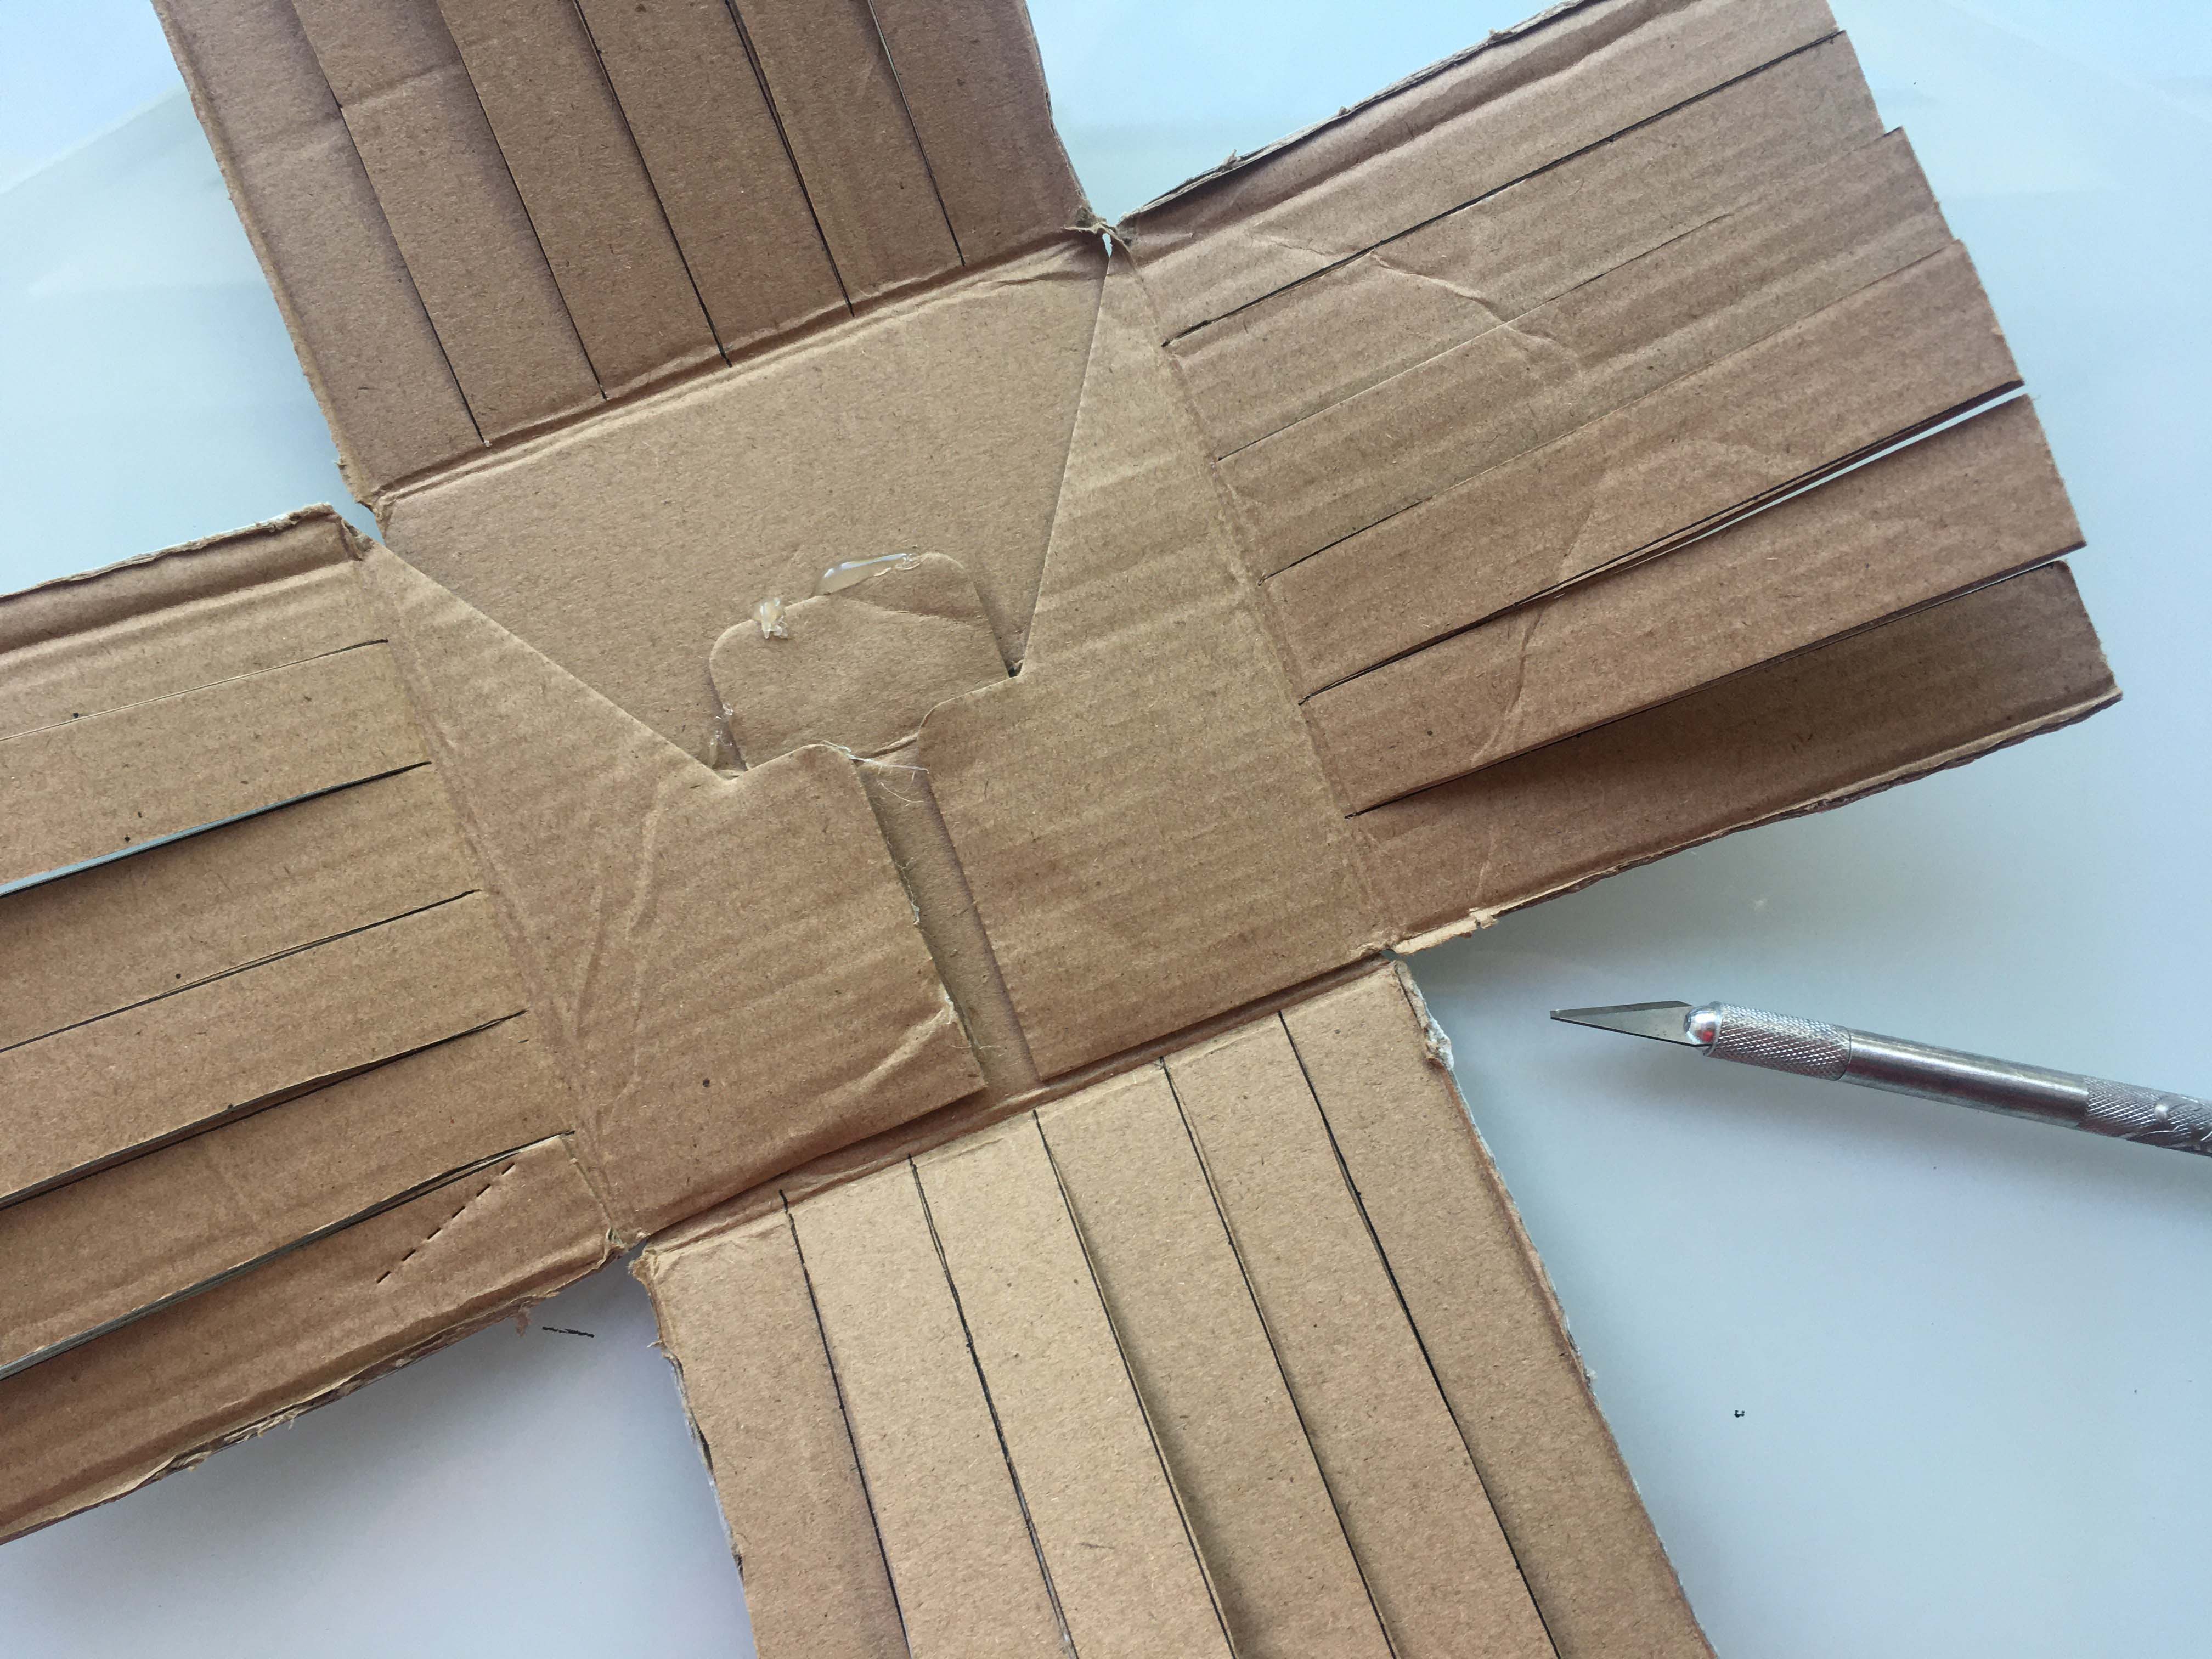
Step 3: Cut along either side of the marked lines, so you have six panels with small spaces in between them. This will make it easy for the rope to fit within the gaps.
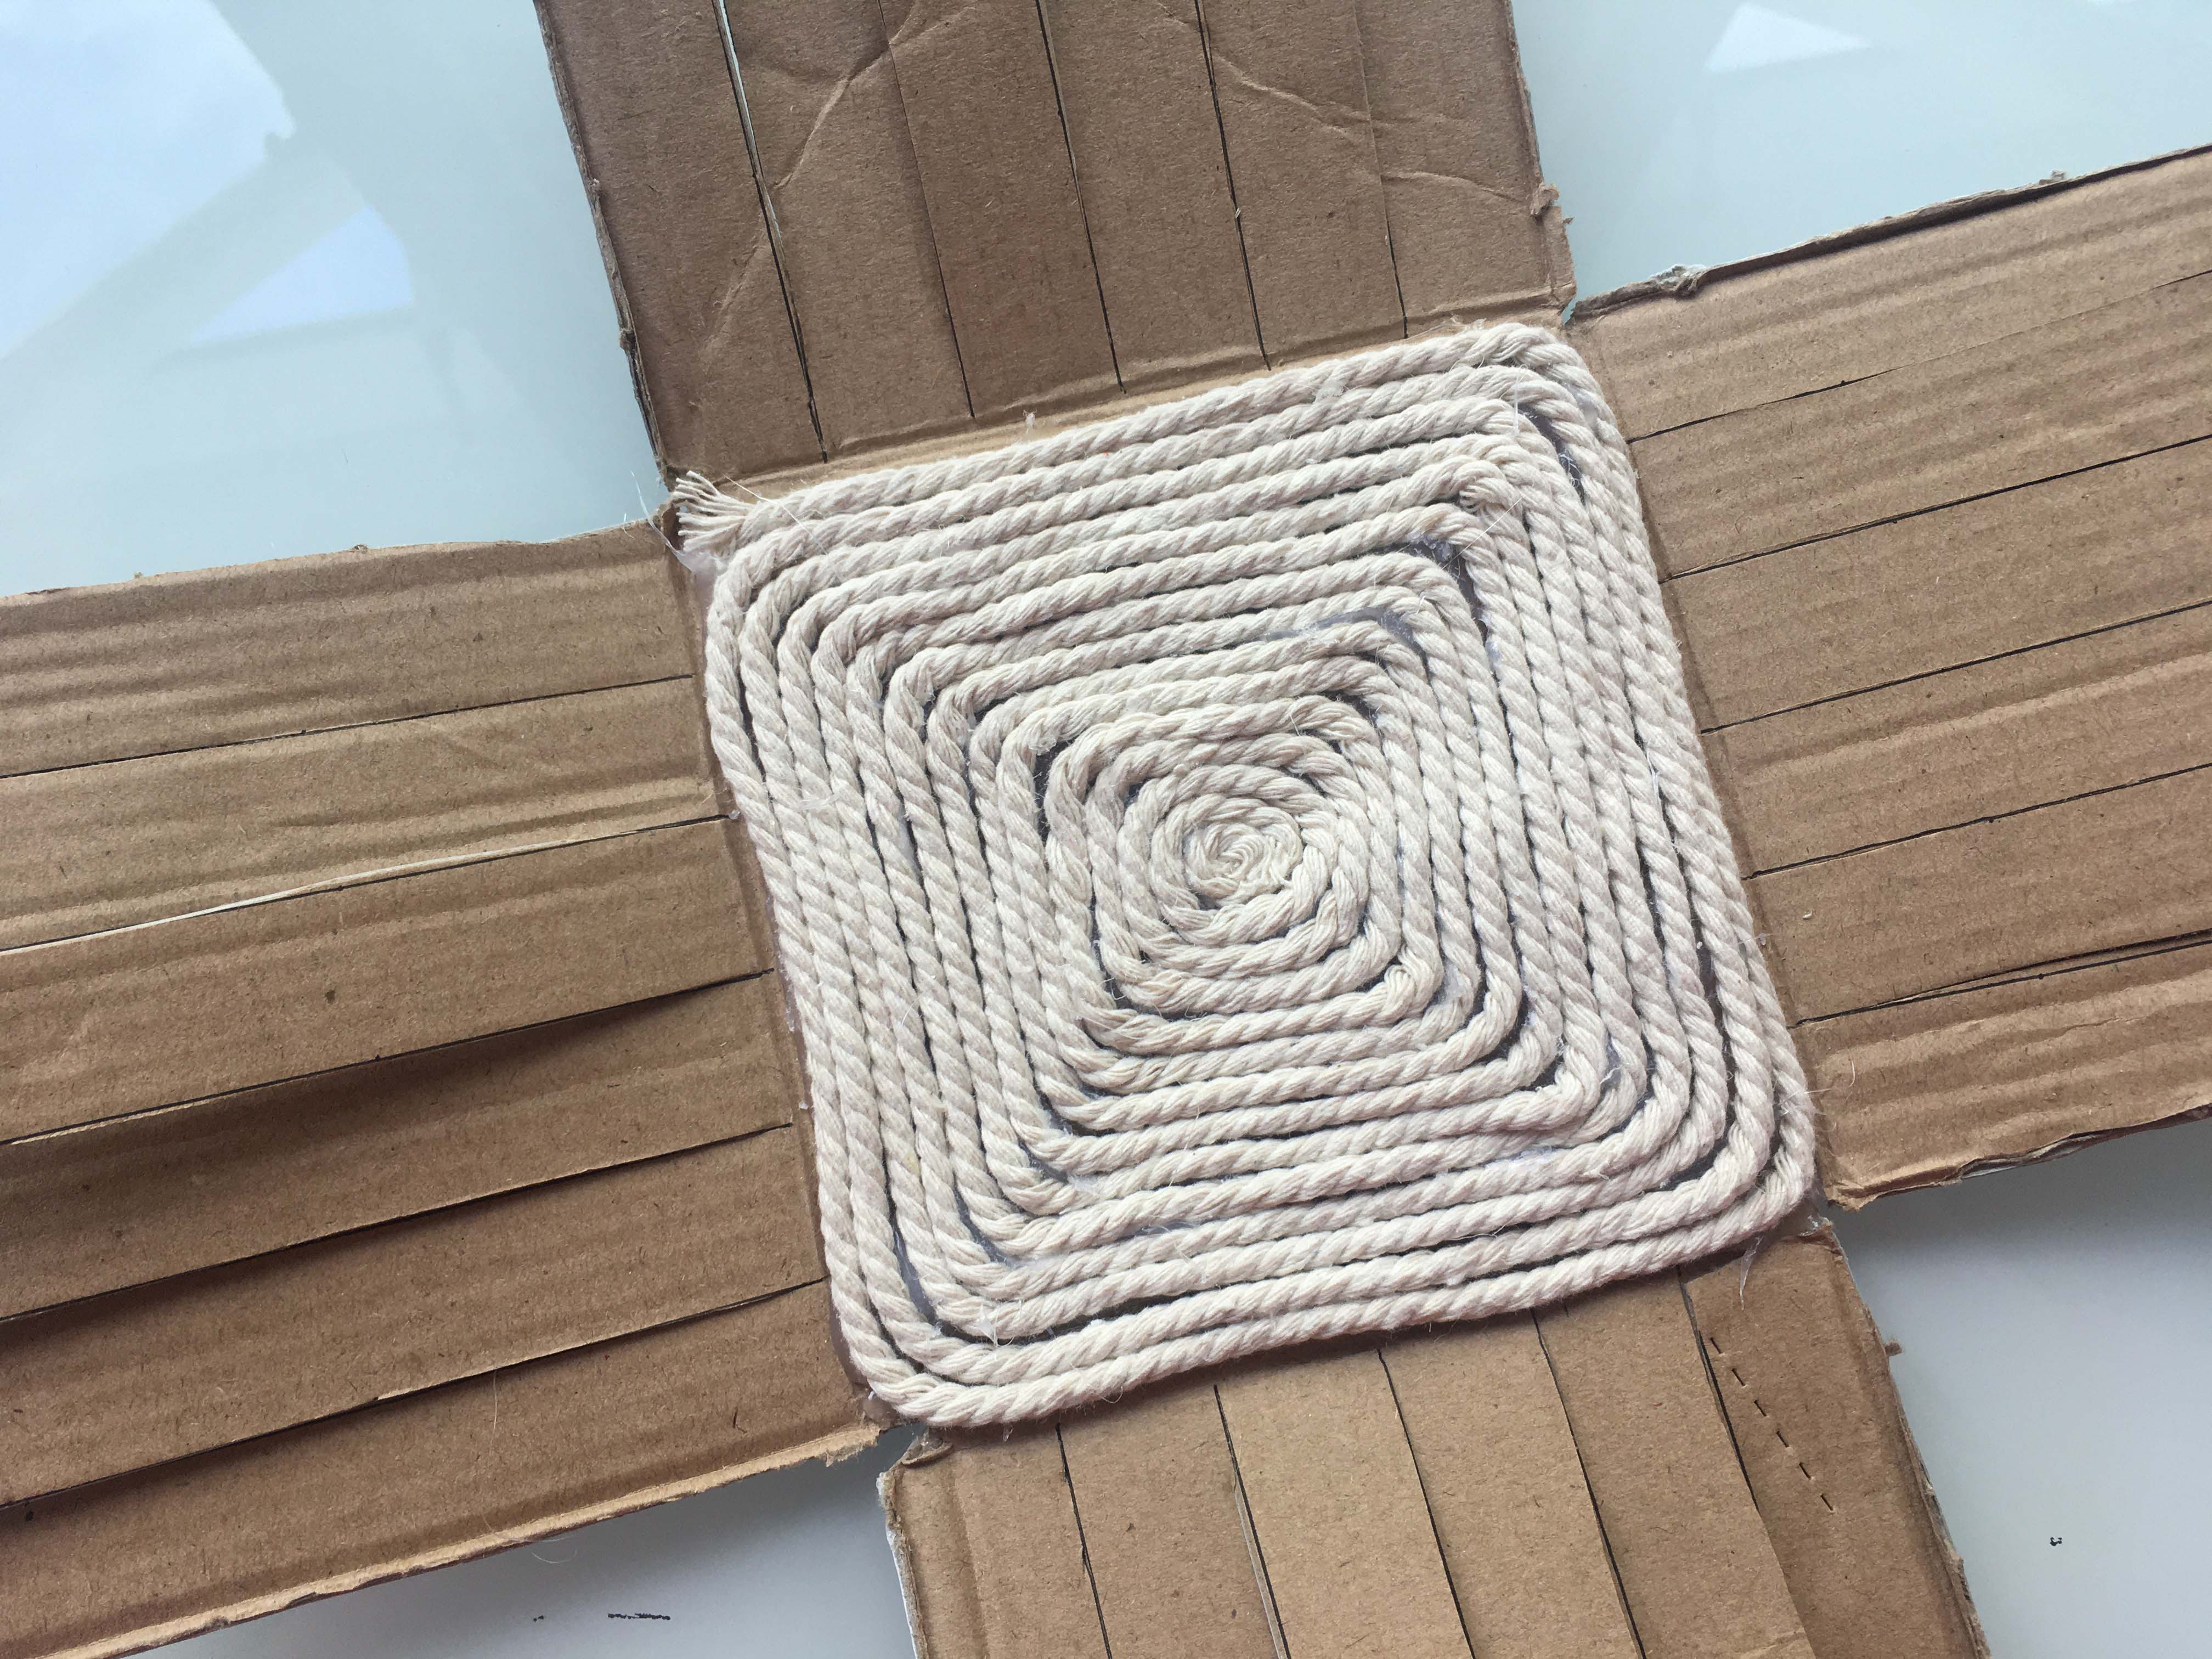
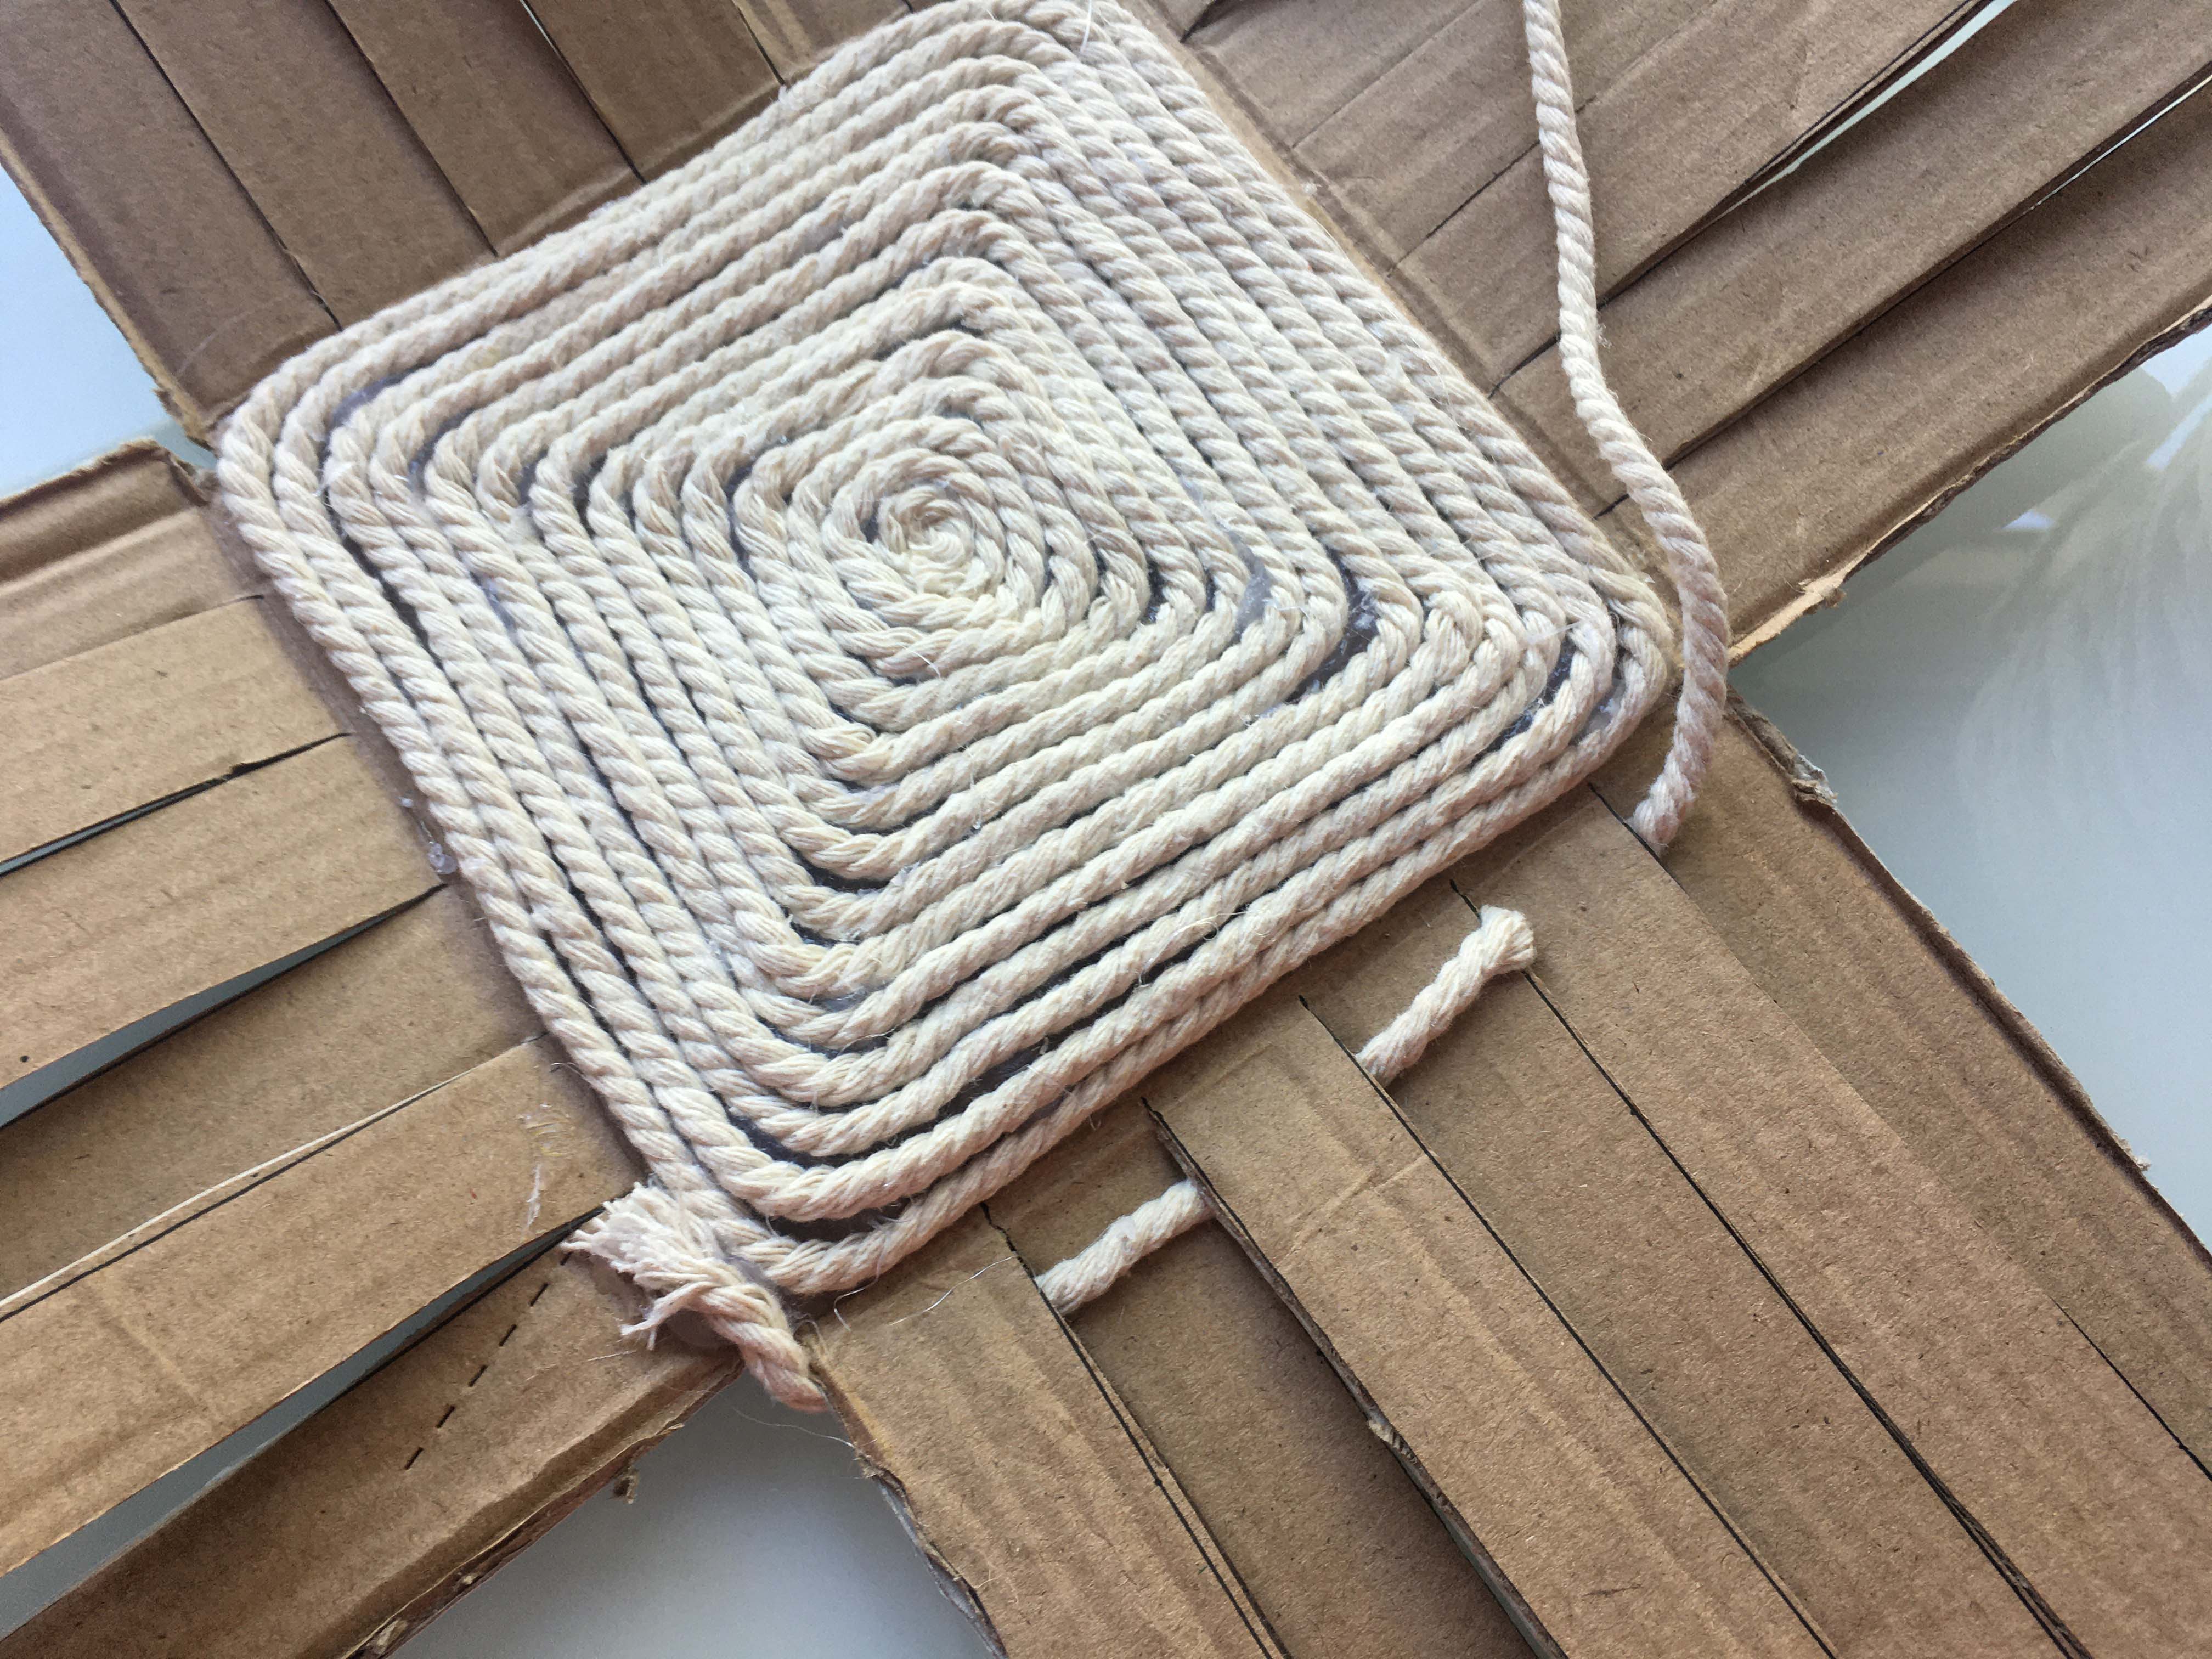
Step 4: Start by decorating the inner base of the box – you can pick whatever pattern you’d like! We chose a spiralling pattern.

Step 5: Dab bit of hot glue onto the box base and press the string into the glue as you go along. Continue until the base is fully covered with string.
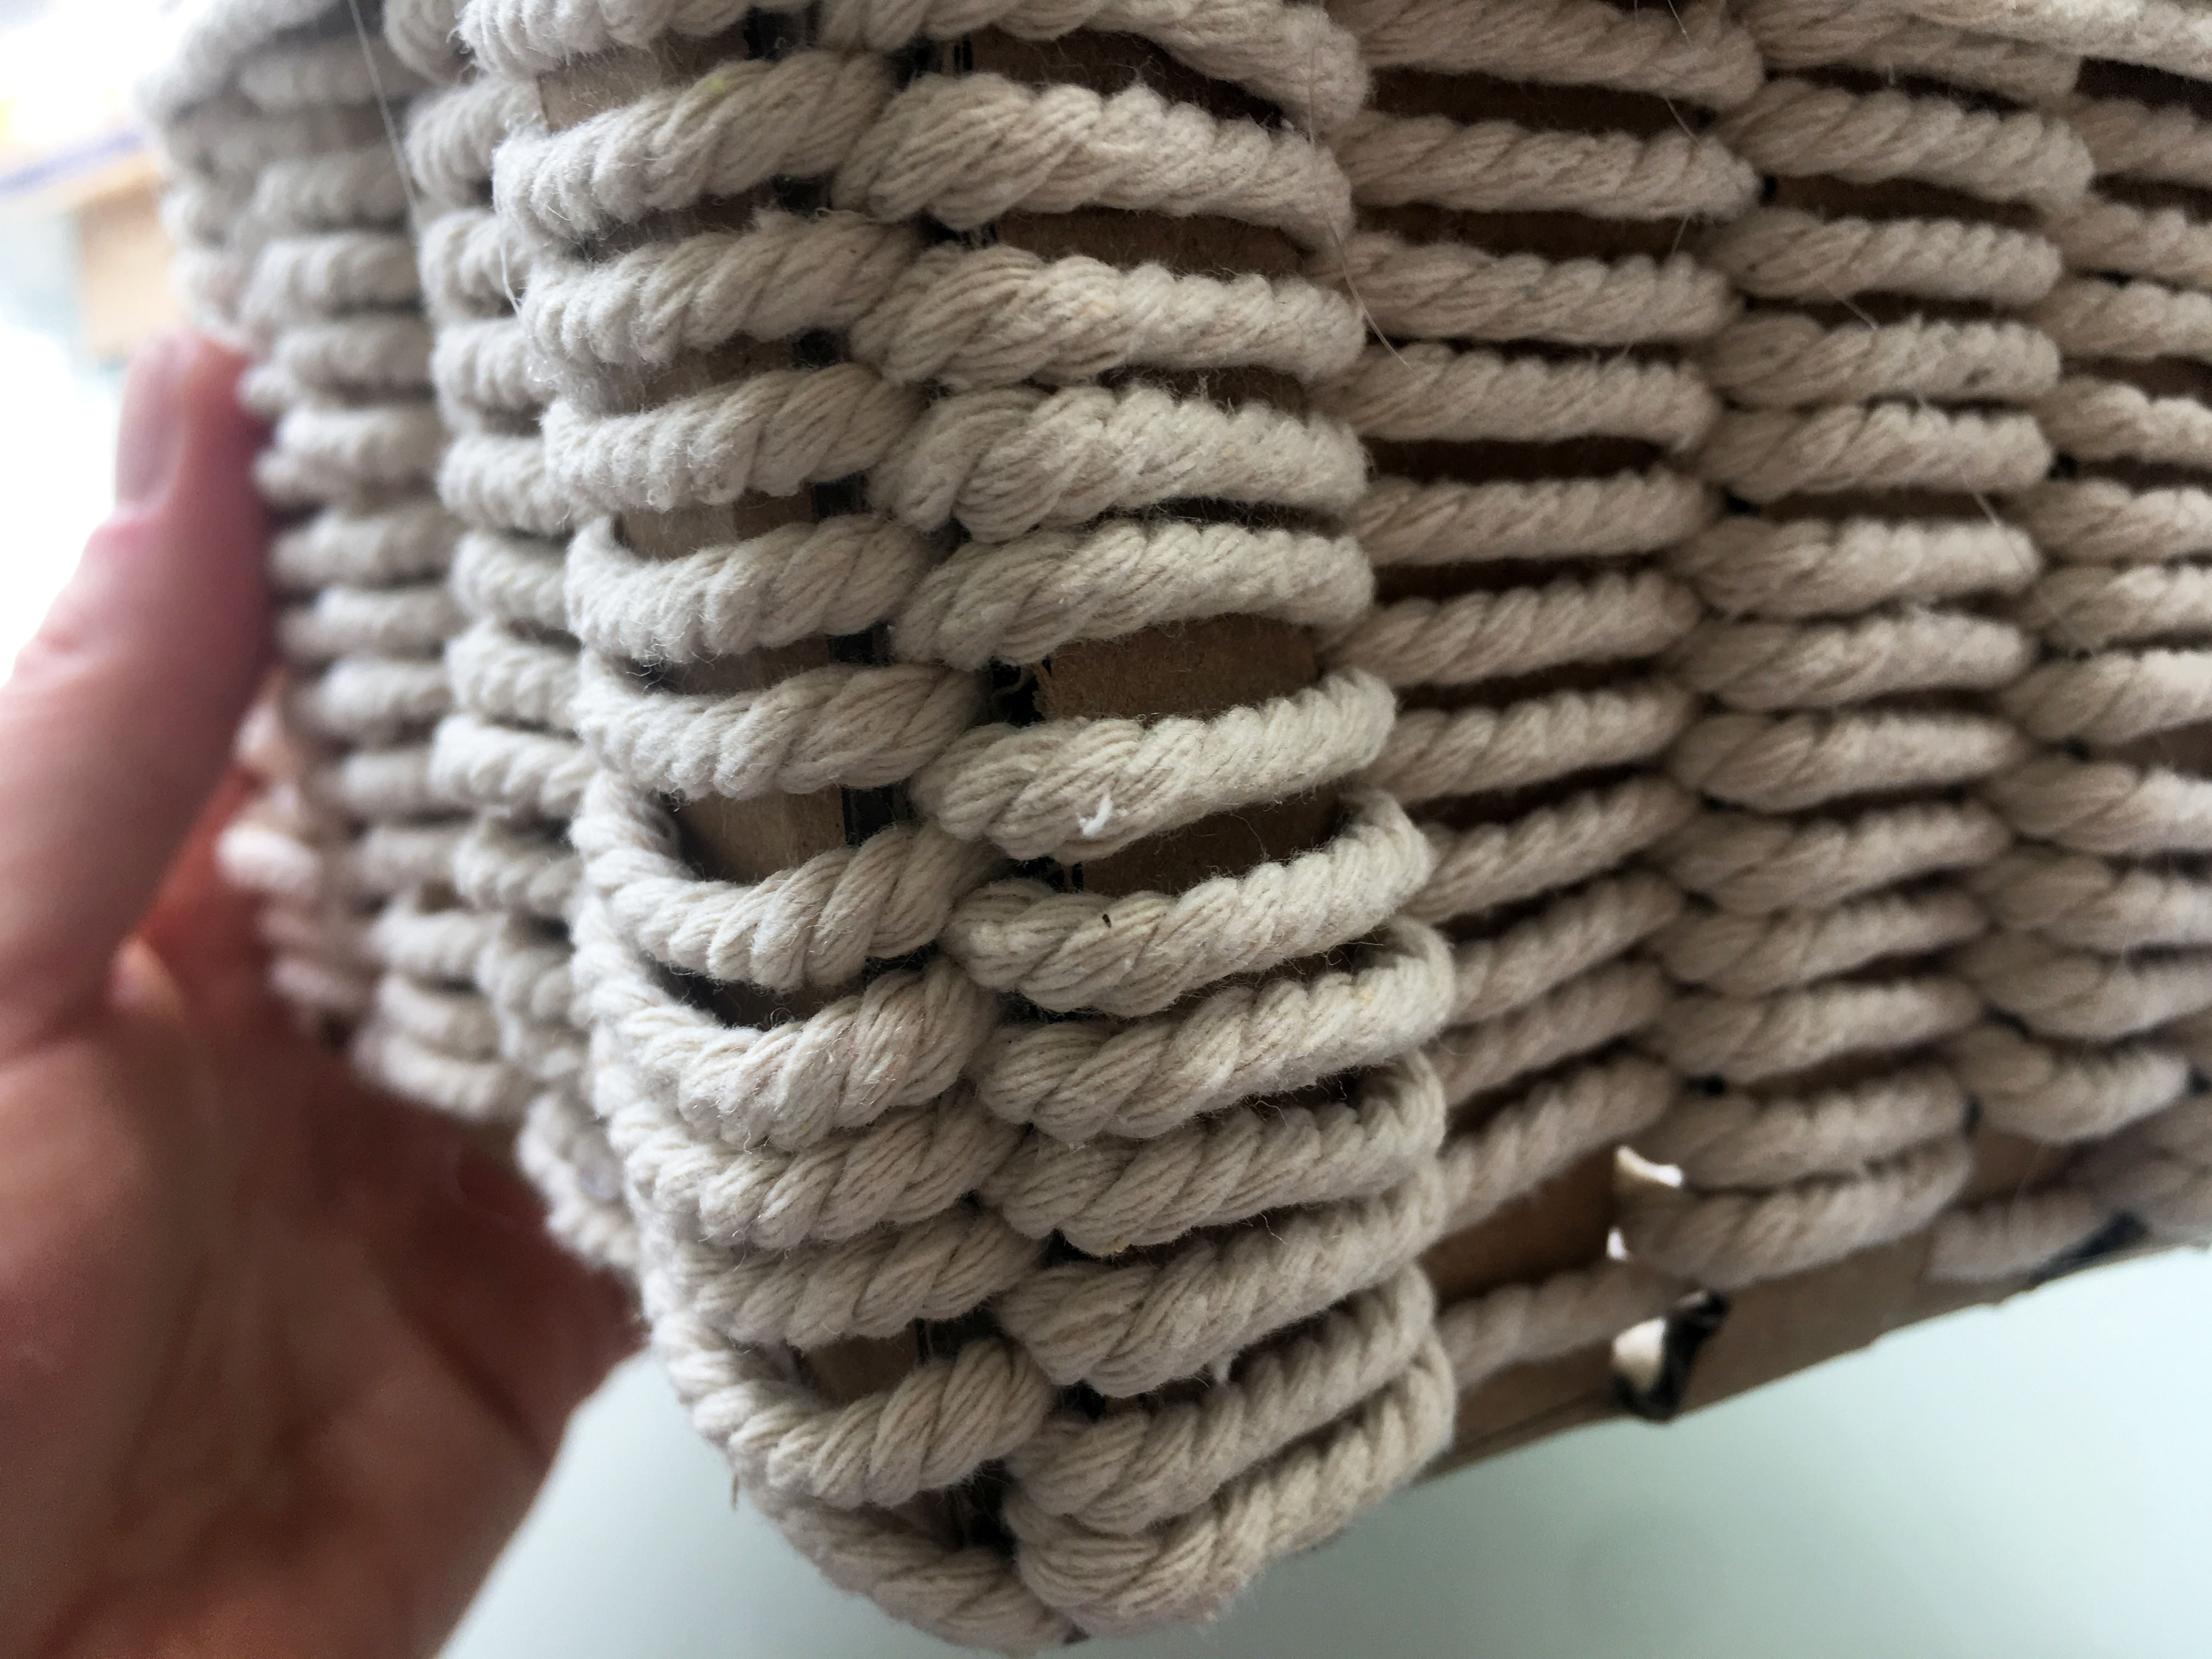
Step 6: Start weaving around the sides of the box. Dab a bit of glue at the starting point, then begin looping the string in and out of the box, weaving between the panels.
Step 7: Weave your way around the box to arrive back where you started. Each loop around the box will alternate the weave pattern - one layer will go over outside of the corner, and the following will go under the inside of the corner - repeat until you’re done. This way you'll be able to alternate the pattern of the weave.
There will be plenty of gaps within the rope to start with, but as you weave more layers you can push the rope down so it has a nice tight weave. Once you’ve finished weaving, finish it off with another dab of hot glue. We made sure to hide the string inside of the box so it looks nice and tidy from the outside.
Step 8: Finish off the top by looping the string around to create a contrasting pattern.

Voila! There you have it, your very own dresser-top storage solution.
Ready for more? Check out our other DIY projects below:
Share
-
.svg)
.svg)
.svg)