
.svg)


Want to create a personalised doormat to welcome people into your home? Follow our step-by-step guide below, or take a look at the video here.
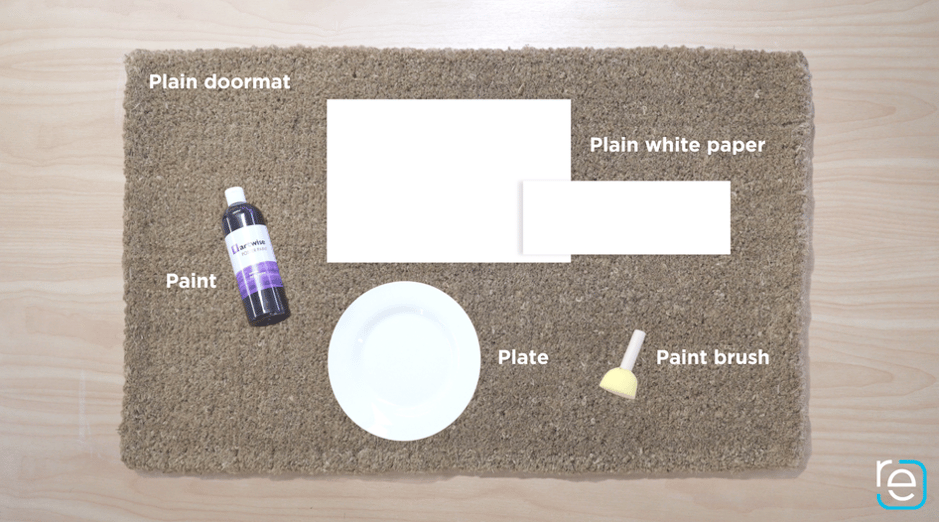
The materials you'll need to get started are:
- A plain doormat
- Paper
- Paint (the bolder the colour the better)
- Plate
- Paint brush
- Sealant
Step one: Choose your design
You will need to choose a design that you'd like to paint onto the doormat. Search Google Images or Pinterest for inspiration and print out your favourite design.
Lay down the paper and cut out a stencil of your chosen design, making sure it fits nicely onto the doormat.

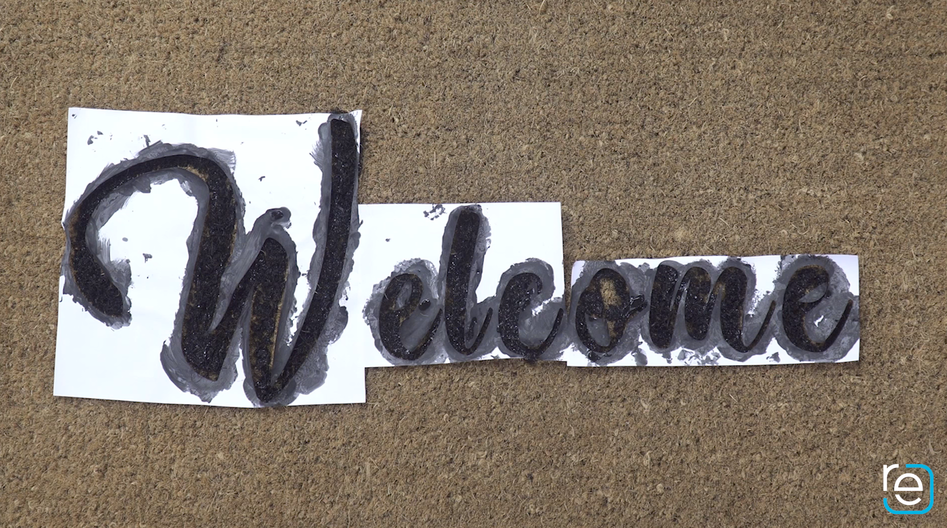
Step two: Get painting
Squeeze the paint onto the plate and dab a generous amount of paint onto the paper stencil, ensuring you've covered all areas with a thick coat of paint.
Let it dry and apply another coat if it's not dark enough.
Step three: Seal and protect
To ensure your design is durable and doesn't get ruined by sitting outside in the elements, spray the mat with a clear coat paint sealer and let it dry.

Carefully peel off the paper stencil and let the doormat dry for at least 24 hours before using it.
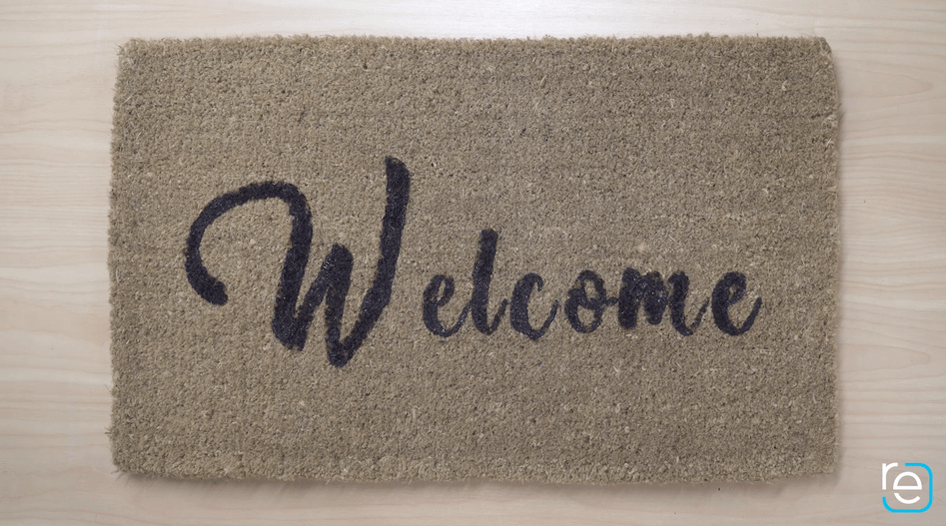
Ta da! You've successfully created your own personalised doormat. We'd love to see yours in action - flick us a message here on Facebook, or hashtag #tryDIY in your Instagram post to show us.
Take a look at our video below.
Share
-
.svg)
.svg)
.svg)