Creating a gallery wall in your home is a great way to make an impact in any room.
It’s easy to install yourself and perfect for a multitude of rooms, whether it’s your living room, child’s room, office or entranceway.
Have fun and don’t be afraid to mix art with photos and affordable prints. They could be fun and simple or meaningful pieces which add value. Minimalistic or bright and busy, there are clever artists and creatives to suit a range of budgets.
I’m not big on following set ‘rules’ – rather I believe, all you need is a few simple tips to make a gallery wall in your own home that you’ll love.
Select your prints and frames
When choosing what prints to hang on your gallery wall, don’t be afraid to mix-up the colour, style and size. Think about what you love. Hang prints you and your family will enjoy looking at each day, not what you think someone else will like.
It’s also good to consider the room you're creating the gallery wall in – is it your living room, child’s room, office or entranceway? With a specific room in mind, you’re able to tailor the look and feel. In your living room you may choose a more relaxing look and in the office a more inspiring and motivating feel.
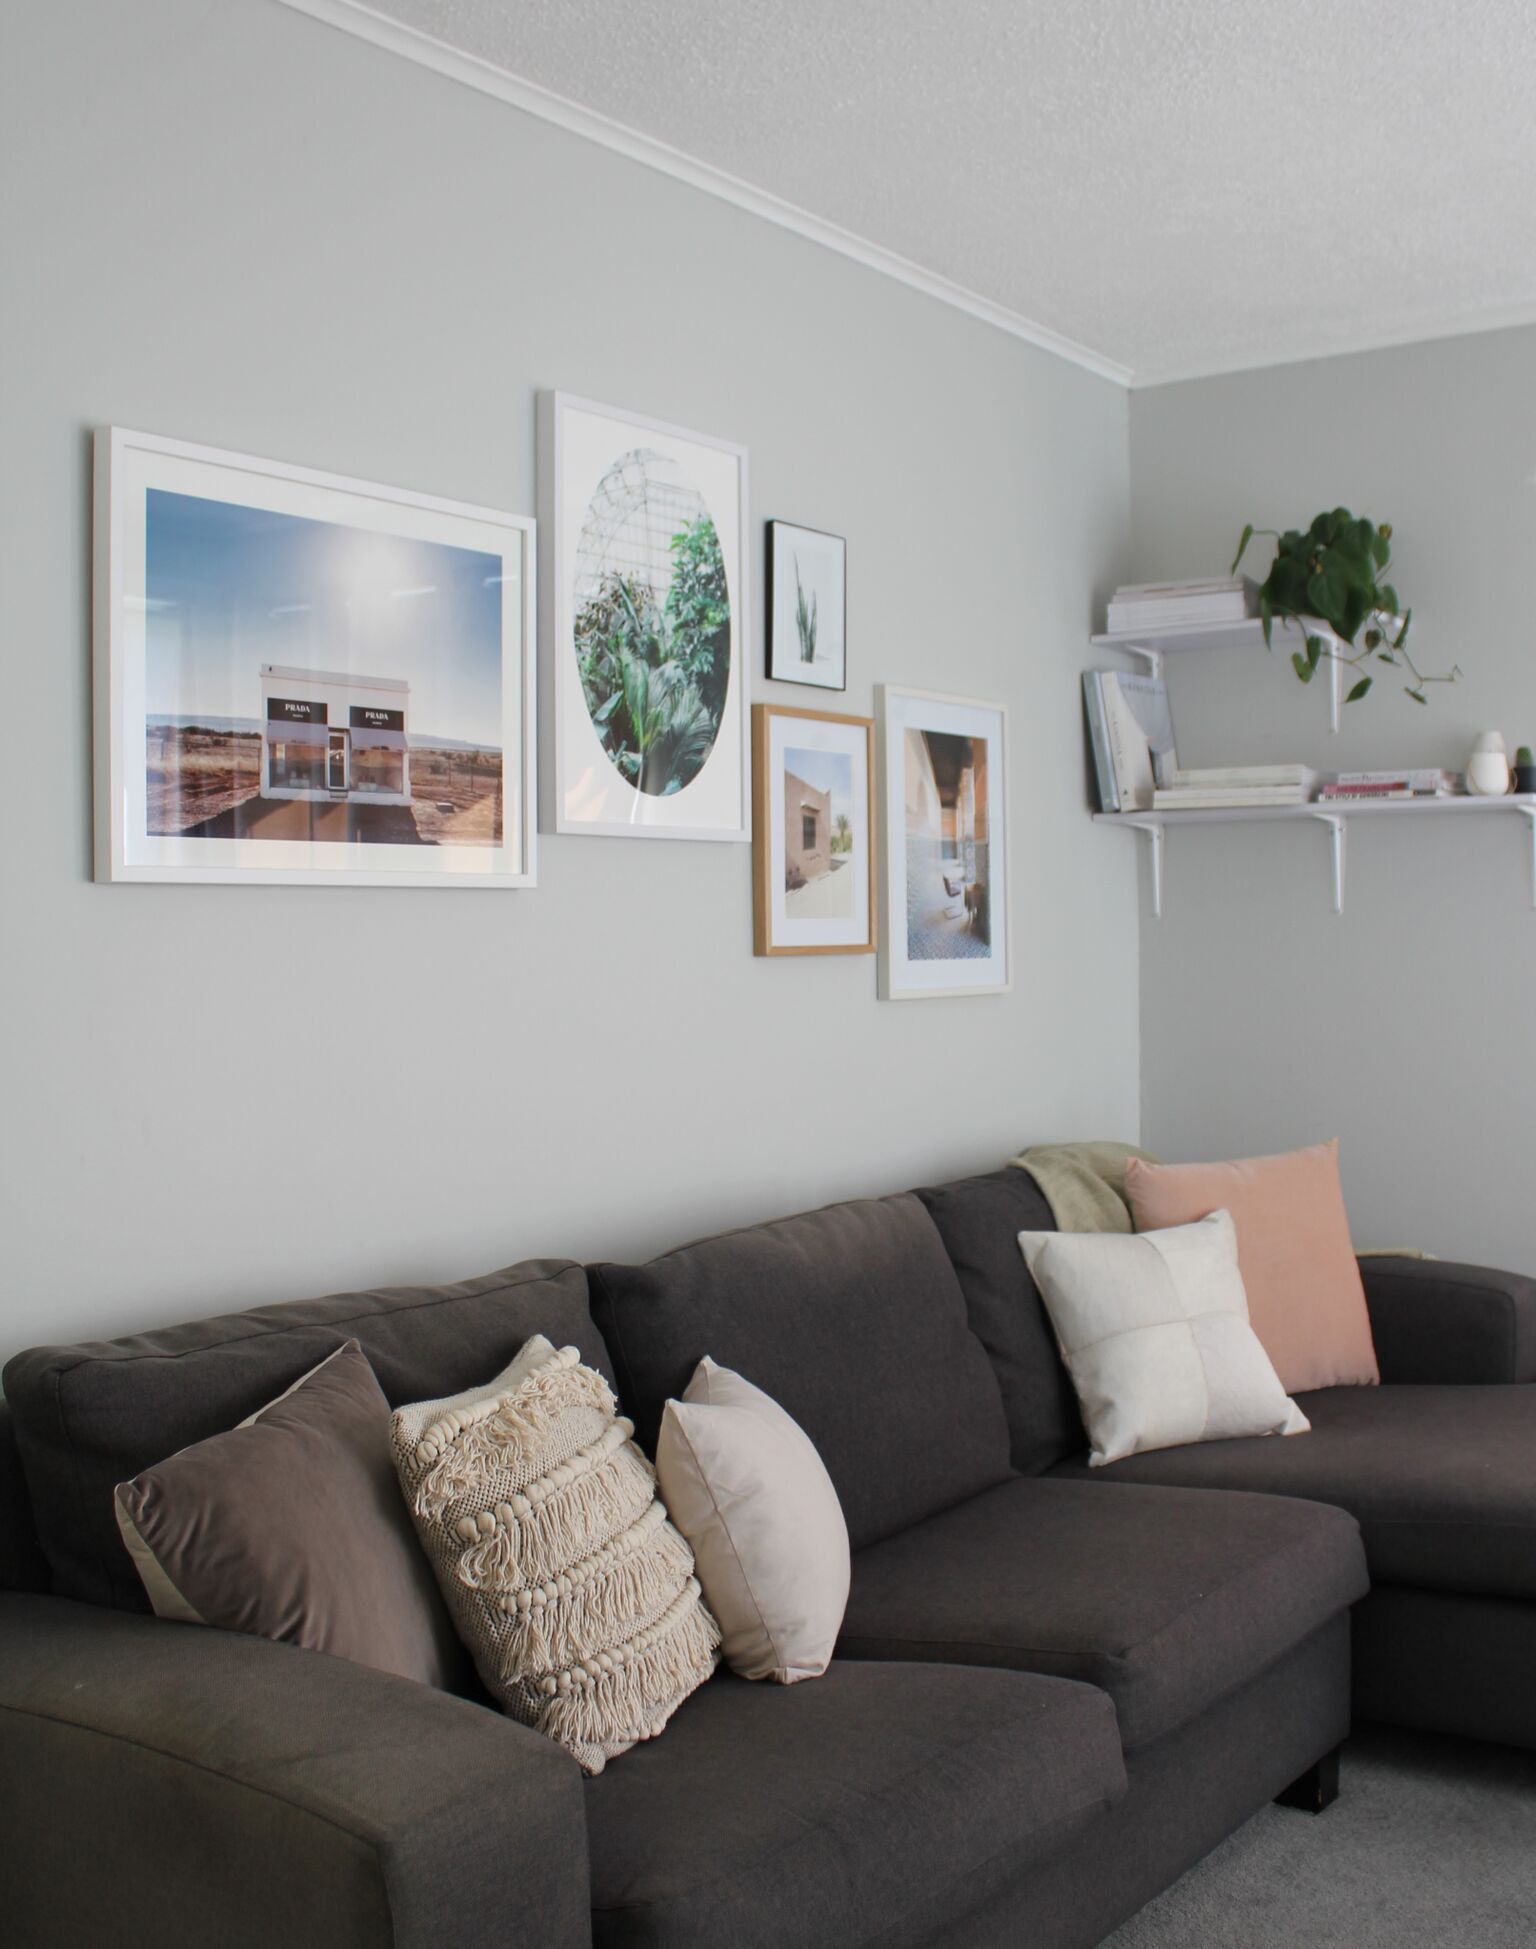
When framing your prints, look at incorporating different sizes, colours (white, black and natural timber) and thickness of frames; you may even prefer to leave some unframed. Playing with different proportions will give your wall some texture.
For any art or photographic prints of value, I prefer to have custom frames made to protect the art long term. If you’re hanging cost-effective prints, there are a range of affordable frames you can source through New Zealand department stores.
Consider how you will hang them
If you’re going to use nails or hooks to hang your prints, you’ll need to consider where your wall framing is in order to fix them correctly. Gib walls simply aren’t strong enough on their own to support the weight of framed prints and the last thing you want is your art to fall off the wall and break.
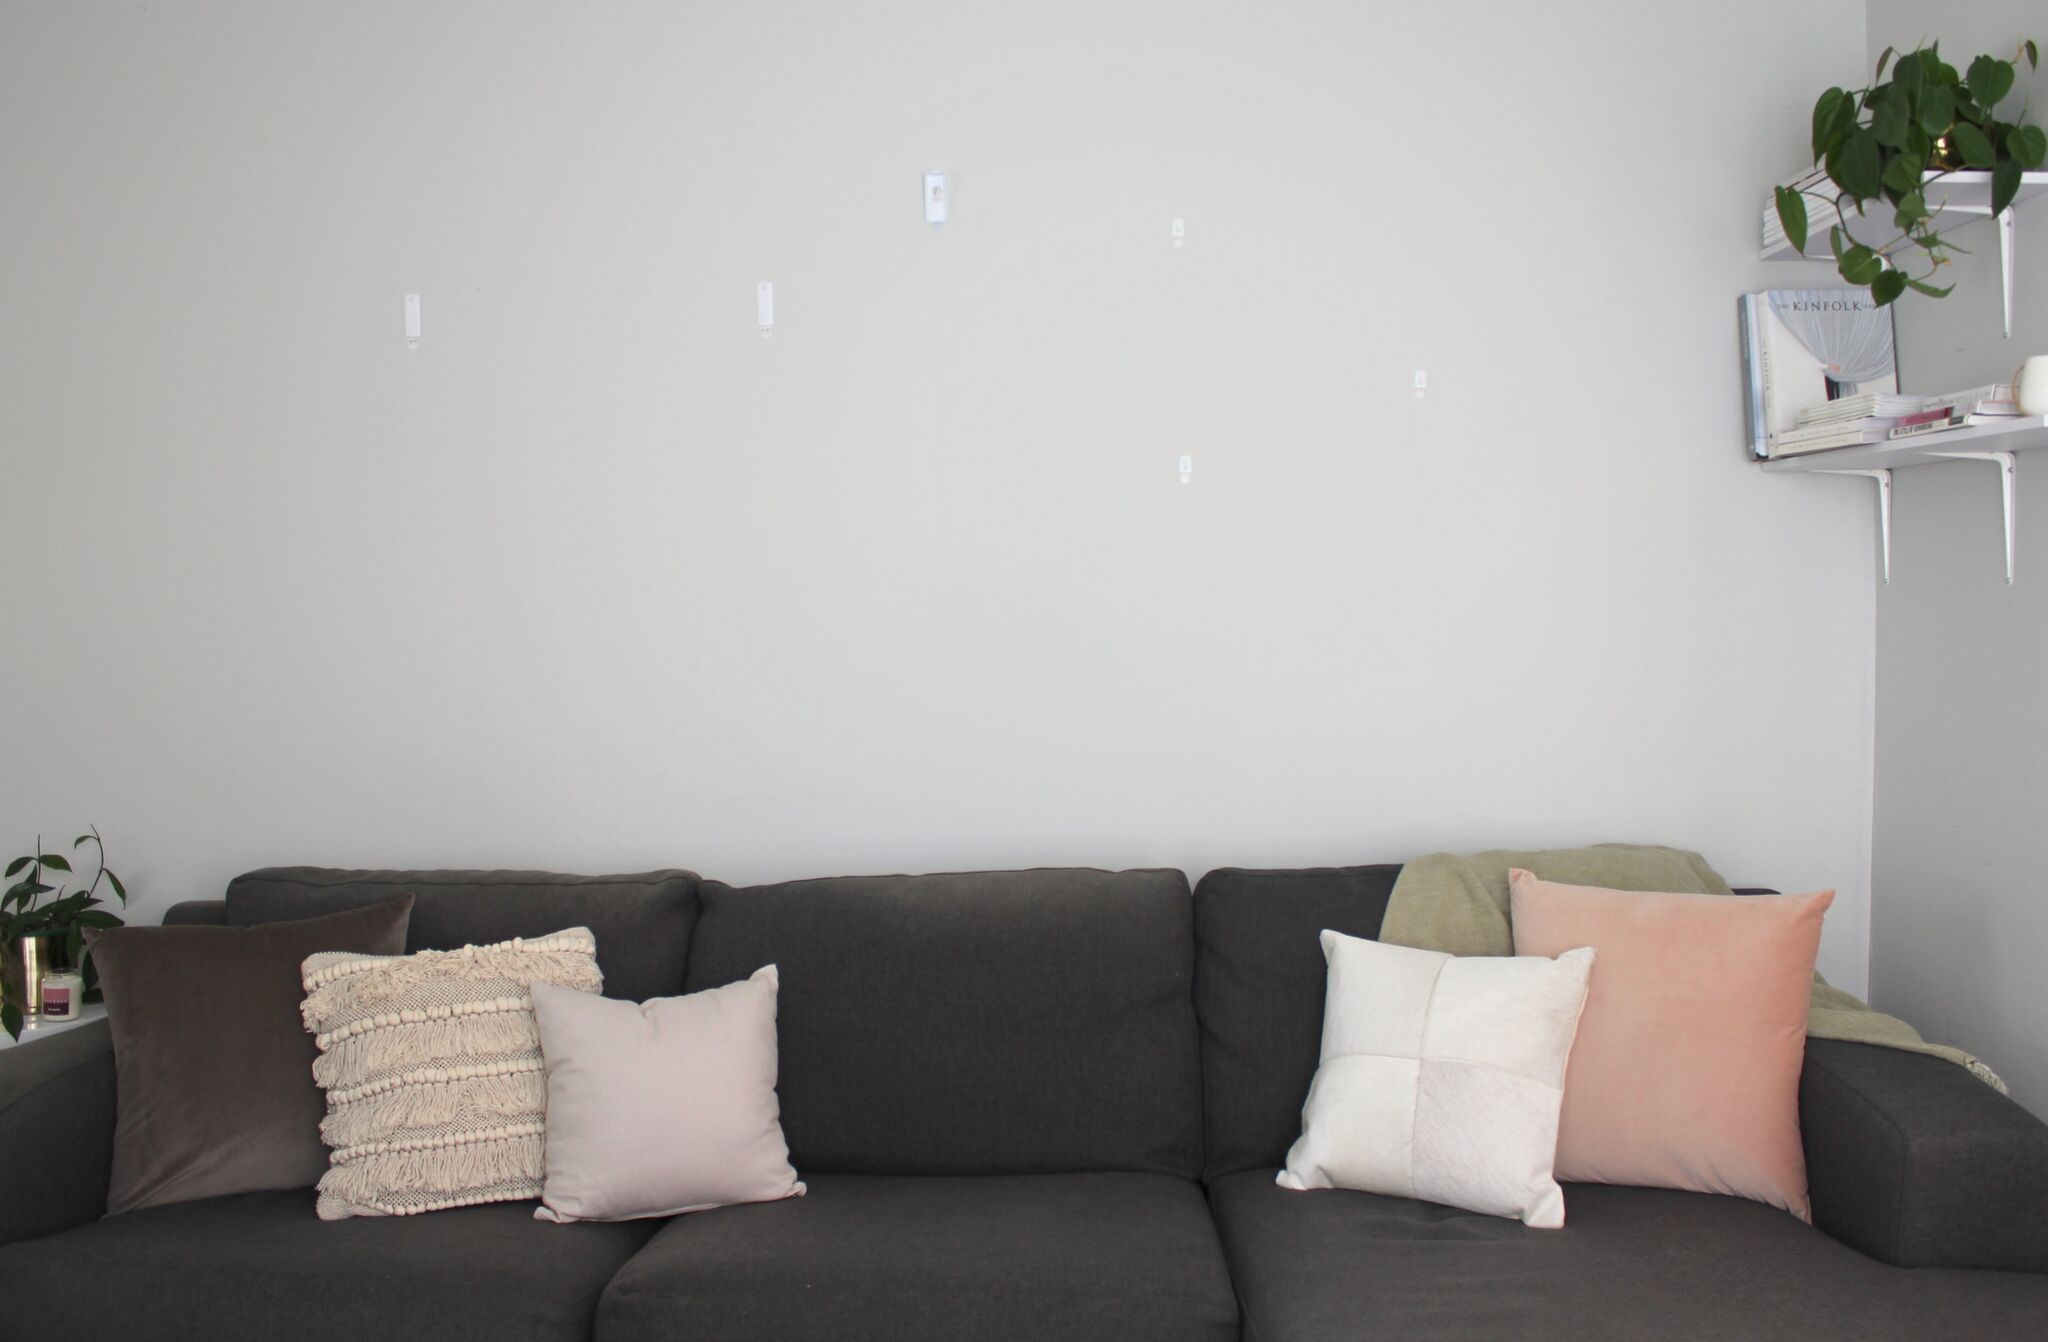
I tend to use 3M hooks (or their equivalent). They're easy to apply, remove cleanly and the best part - they don’t leave holes in the walls if you choose to rearrange or take them down when moving.
Make sure you follow the instructions with products like these. That includes leaving them overnight before hanging prints to ensure they’ve had time to properly adhere to your walls.
Determine your layout
If you’re anything like me you’ll want to jump straight into hanging your prints. But, if you take a little time beforehand, you’ll save yourself the frustration of having to reposition any.
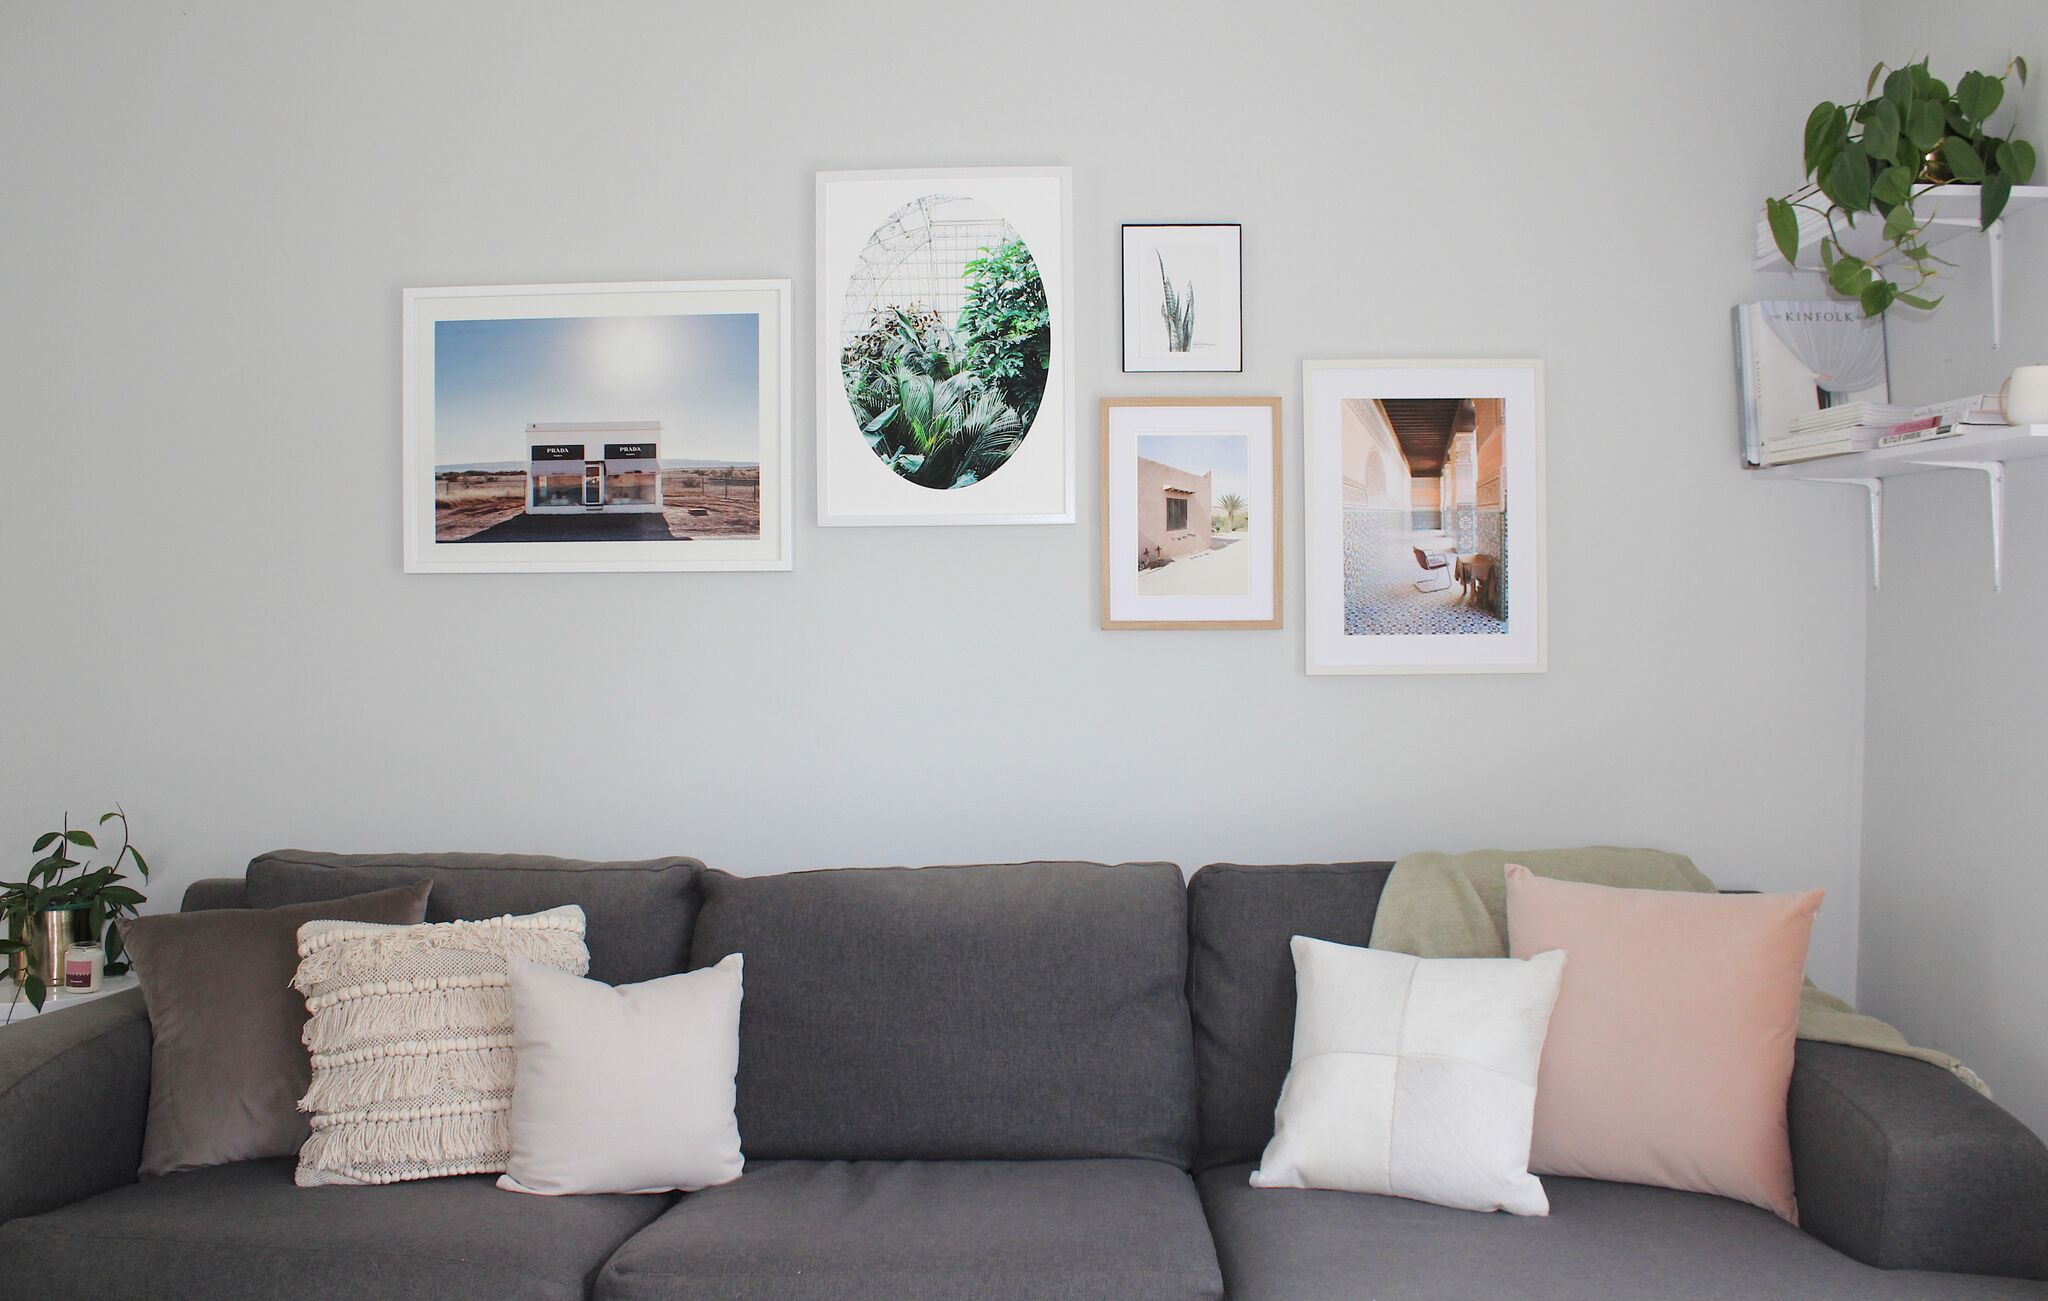
I start by selecting one large print (your hero piece) that will anchor the gallery, then arrange your remaining prints around it. Placing the hero print off centre will give your gallery wall a more natural feel.
I tend to have an idea in my head of how I’ll want them positioned but always lay the frames out on the floor first, playing with the layout until I’m 100% happy.
Taking a photo on your phone of a few different options can help you narrow down the best layout. It’s also handy to refer to when installing your prints on the wall.

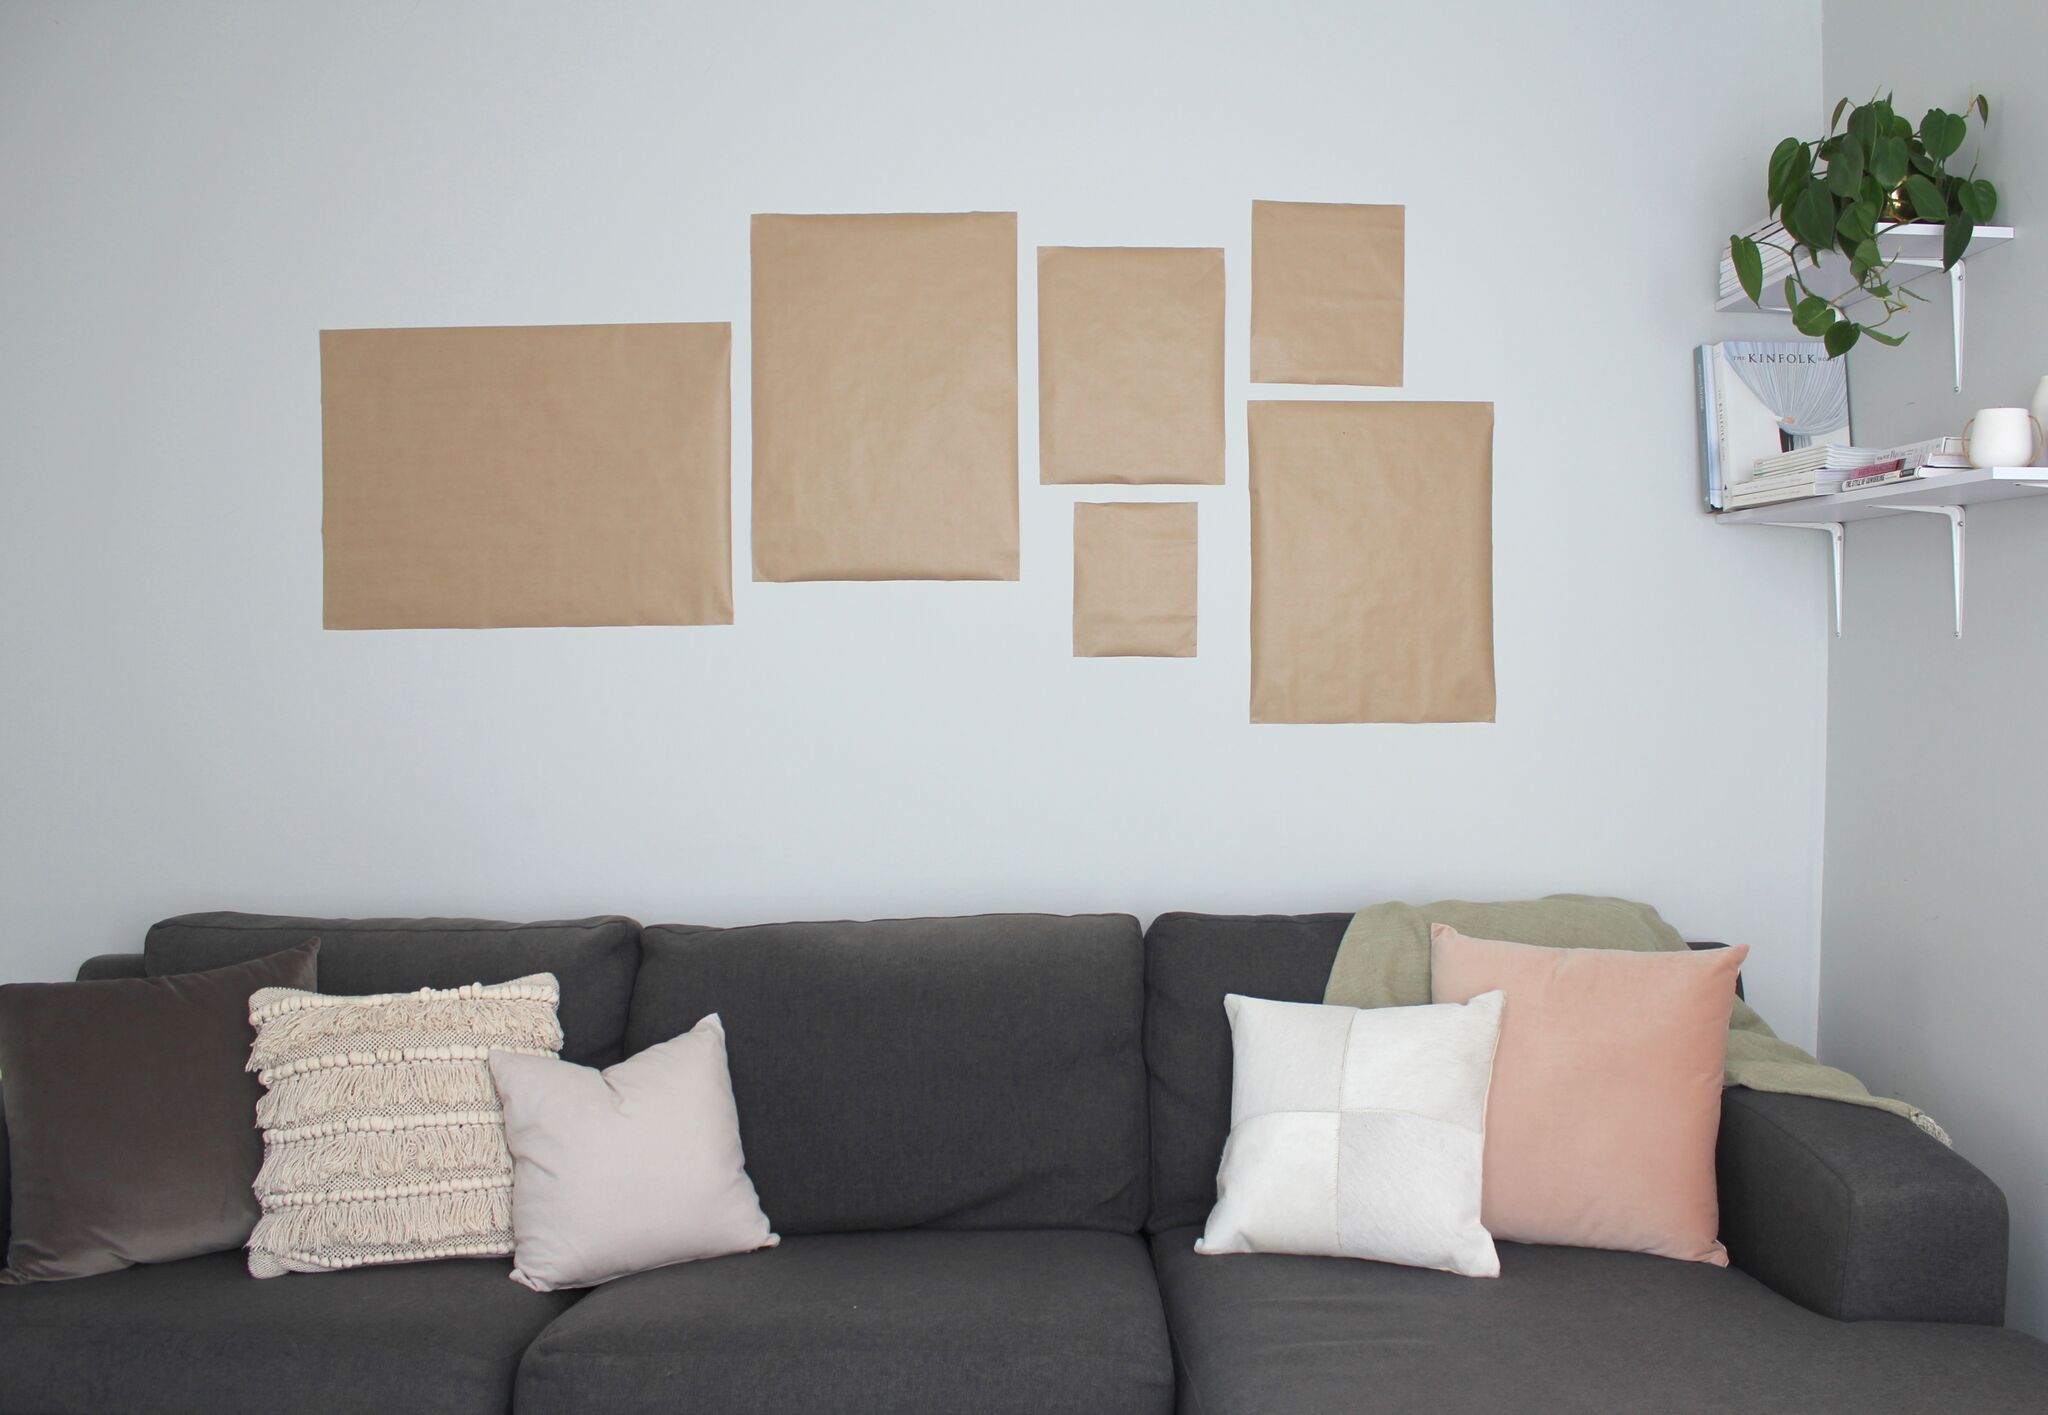
Using a roll of paper, I cut out the shapes of each framed print, making a mark on the paper where the frame hook is located. From there I stick each piece of paper to the wall using Blu Tack, starting with my hero piece and working my way out. If you want to be particular and exact with the spacing between your prints, you should measure. I keep it simple by stepping back and using my eye as a guide.

Keep tweaking until you’re happy with the placement of each frame. Once you’ve got your final layout, place your nail or hook on the wall and you’re good to go ahead and hang the real thing.

Product Details
• Desert Mall by Blacklist, from Paper Plane Store
• Moroccan Mosaic II, by Printy by George
• Urban Botanicals No1 by Amy Wybrow Photography, from Endemic World
• Morocco No.3 by Print by George
• Small Plant prints, by My Deer

Kelly Evans is a blogger, writer and stylist. Kelly shares stories on clever people and great design on her website, thehomescene.nz. Click here to read more from Kelly.
All images courtesy of Kelly Evans, thehomescene.nz
19 Sep 2017

